Wednesday, December 26, 2012

Giftmas 2012 Part 2

This post has ZERO sewing in it.It is something that I "made" for my children as their Big gift.

A WASHER AND DRYER!

One of my sons asked for a washer months ago, so I looked at options online and decided to Mod my own.

I started with Closetmaid Qubemates with Door

Source: amazon.com via Corsetra on Pinterest

Another option would have been this 2 Door Cube at Target

After assembling the cube, I turned to my Brother-in-law who was in the shop working on his own project to help me with the back board. I had purchased the 2 black knobs at my local Ace Hardware, the round wooden ones were found in the shop from an older project, likely several years ago.
The writing was done with sharpie, after looking at the real deal in the laundry room.


Should these units be out grown by my children, they will just be used as storage after the back board is removed.
Baskets from the dollar store add a nice touch to the set.
Christmas morning the children were very happy to find it and decided to wash their Christmas stockings (after they were emptied of course.)

Unfortunately the black knobs worked themselves of their bolts, so my husband and his dad found better knobs that won't come off!

If you wanted to do this for your children, please read the size of the cubes first to make sure you have room for them, the units are supposed to have shelves in them and thus have no door stopper other than the shelf. to remedy this I used the plastic hardware that was supposed to be used to anchor it to the wall as a stopper for the door.
I was originally hoping that I could do a top loading washer, but the units are no perfect cubes. the depth is different from the height and width by about 2", so front loading washer it is, even though that is not what we have for the real deal.

The washer and dryer are set in a little nook area by the front door that is the play kitchen.
The unit on the left is ClosetMaid 1 Door Organizer that we use as a Fridge, which the children got about 2 months earlier since they figured out I was wanting to get them one. I got baskets inside to hold the food, otherwise it rolls and falls out.

the Kitchen by Alex Toys was part of last years Big gift and I love it's small size which is great for apartment living. the back bar with the hooks comes out and can be put inside the oven for storage. Actually that bar is not necessary and can be discarded if the children are unsafe with it. I like how it is NOT PINK as cooking is not something that is divided by gender, nor is laundry for that matter!


Sunday, December 23, 2012

SPP 2009 Sewing the Corset


Sewing a diminutive properly boned doll corset is one of my favorite things. I have done it on several occasions. I shared with you the Mini Teal Corset, which was my first attempt at a busk. I have other doll corsets that I will share with you later too. But this post is about sewing Elphaba's corset.
I described the process I used to make the pattern in this post.


I used Lavina Foy's Patent 79647 Issued July 7th, 1868. It is a bit late. (One must remember that the patent was applied for many months, possibly even years before it was issued.) I chose this pattern because I did not want to do gussets in this size, and just straight panels are a bit boring. The actuall sewing follows my standard for doll corsets. I cut out the fitted pattern with no seam allowance, lay it on the cotton that I use as my strength layer and trace around the pattern piece.
 The CF and CB are on the fold. I then baste my fashion layer to this just on the outside of my traced line. My fashion layer was a thin white silk in this case. 
The CF is cut on the fold because I have not come up with a good way to make a busk for dolls. My last attempt in the Mini Teal Corset was for a larger corset and while it did function it was not pretty. Also most of the doll corsets I have seen with busks are larger and from a later date (1880's?)
The CB is cut on the fold because a seam at the back would add more bulk, and it gets really narrow when you need to put in eyelets.

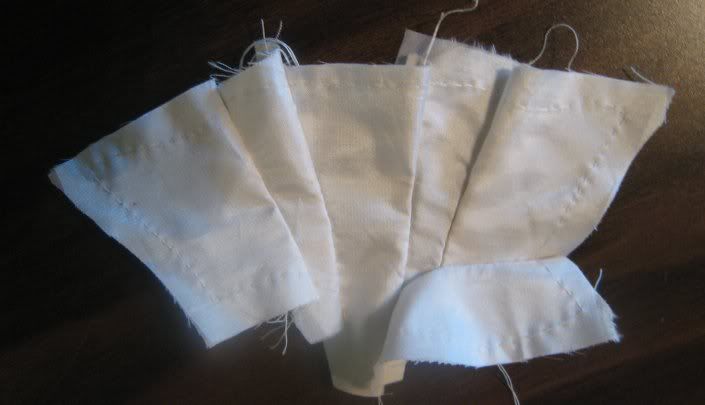
This image shows the side pieces of cotton flat lined to silk exterior as they are being basted together before assembly.


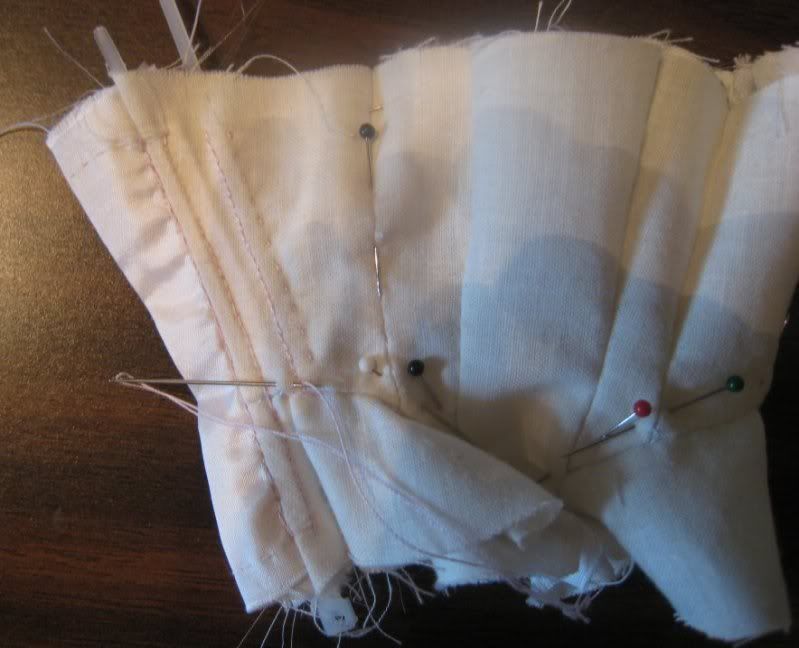
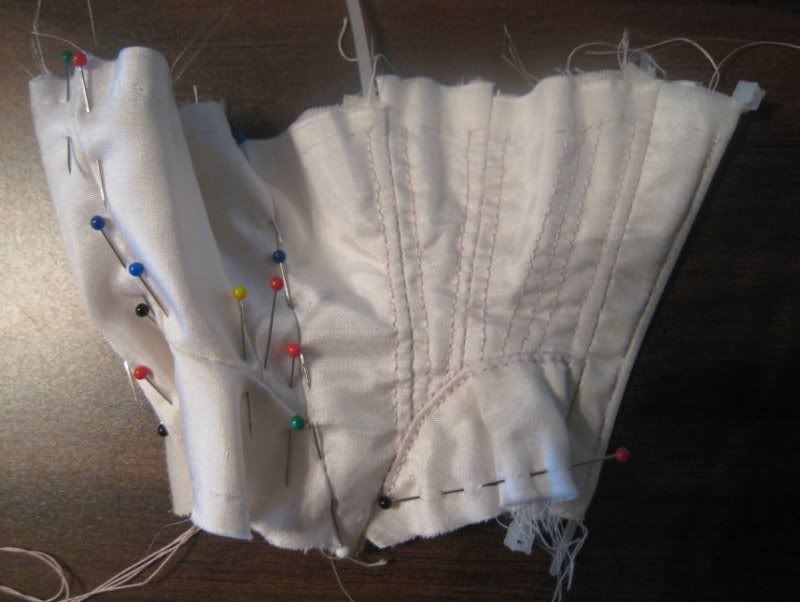
After I have the layers all basted together, I cut them out leaving 1/4" all around them, then I sew the pieces together. For this corset, the fronts are sewn together, then the side is added, the the hip gore is sewn in and last is the back panel.

The image shows the corset with one hip gore sewn in, as seen from the inside.
The corset at the same stage as seen from the outside


Then add the lining in the sandwich style, press seam allowances open so bulk is even on both sides, and stitch down the seam to hold all layers together.

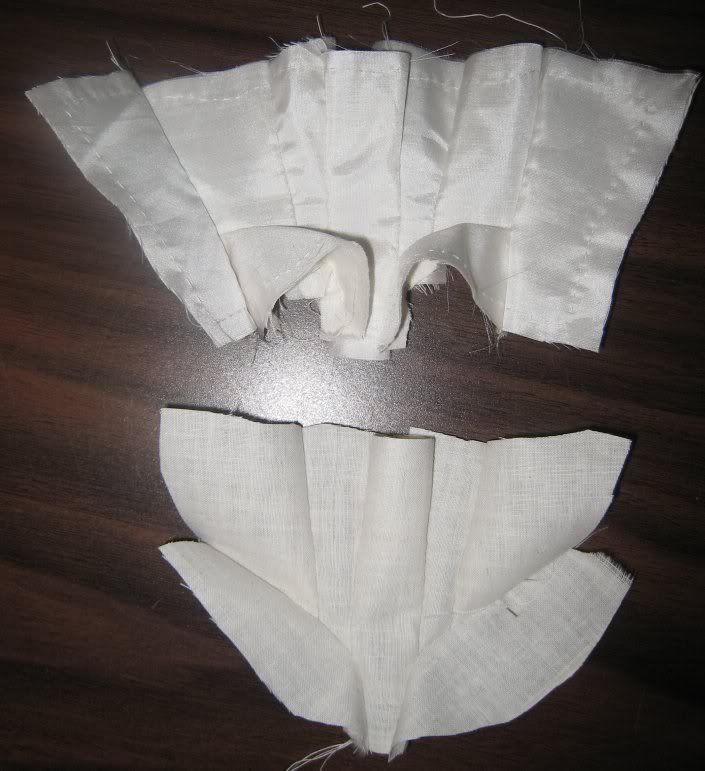
This image shows the exterior silk corset on top and the plain cotton lining below. the lining does not have the back panel since it was cut on the fold, which is why they are not identical.

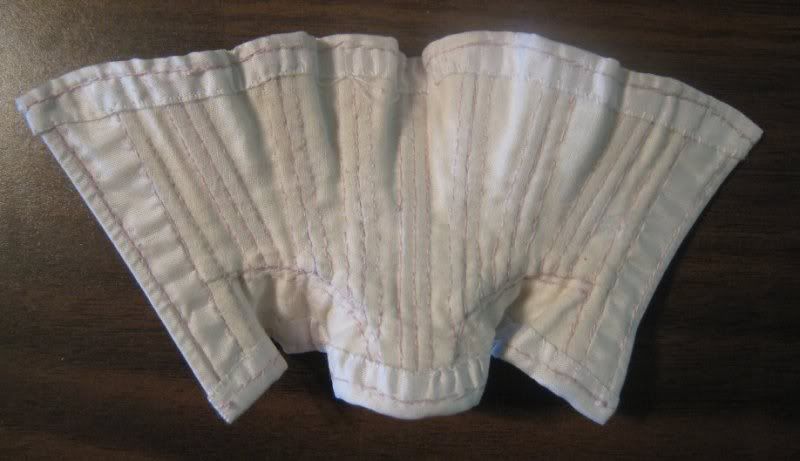
Then stitch the boning channels, for which I used pink silk thread to stitch them using a back stitch. I used 4" cable ties for this corset, 14 of them were enough to bone all 18 channels since the ones on the side do not go into the hip gore I got two bones from one cable tie in those instances.

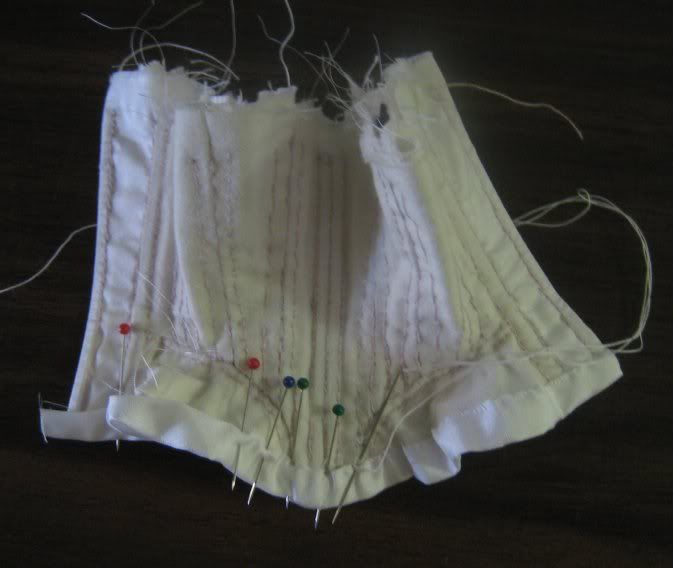
Sewing boning channels, as seen from the inside.


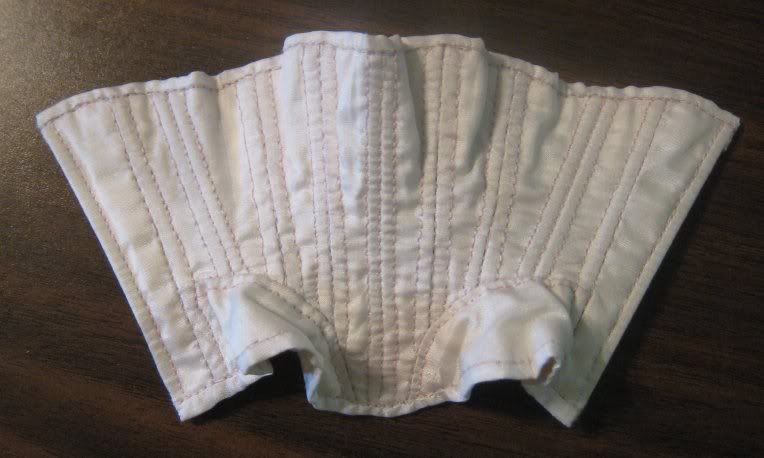
Sewing the channels as seen from the outside

Then I bound it in a strip of the silk, I often actually use silk ribbon for this application, but couldn't find mine. This is another reason why I used a silk fashion layer, it is thin, to use cotton as the binding would have added a lot of bulk. The binding is cut from straight of grain. when finished it is 1/8" on the outside but much larger on the inside, this was for my ease of finishing and it actually makes it a bit more stable.


Sewing the binding down on the inside

The finished binding from the outside.

The finished binding from the inside

Then I put in mini eyelets with washers that you get at scrapbook stores.
There are several brands of Mini Eyelets to choose from. Making Memories is a commonly available one.

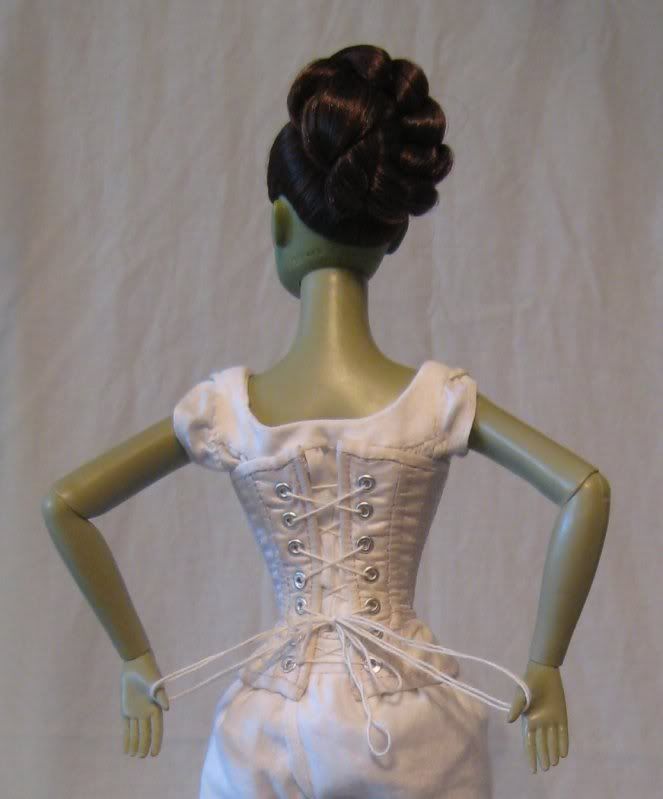
7 mini eyelets with washers! on each side. don't ask me where I got the washers, it was a scrapbook store in Washington state, many years ago and the label has been long lost. These washers are domed just like real grommets. I have saved them and prized them. I used mini eyelets from Joanns though as they have a longer shank than the ones from Making Memories. If you can't find min eyelets with washers, take your mini eyelets to the hardware store, I find that size 5 metric have the right internal diameter for the mini eyelets, but are larger external diameter, so they look funny on the wrong side.

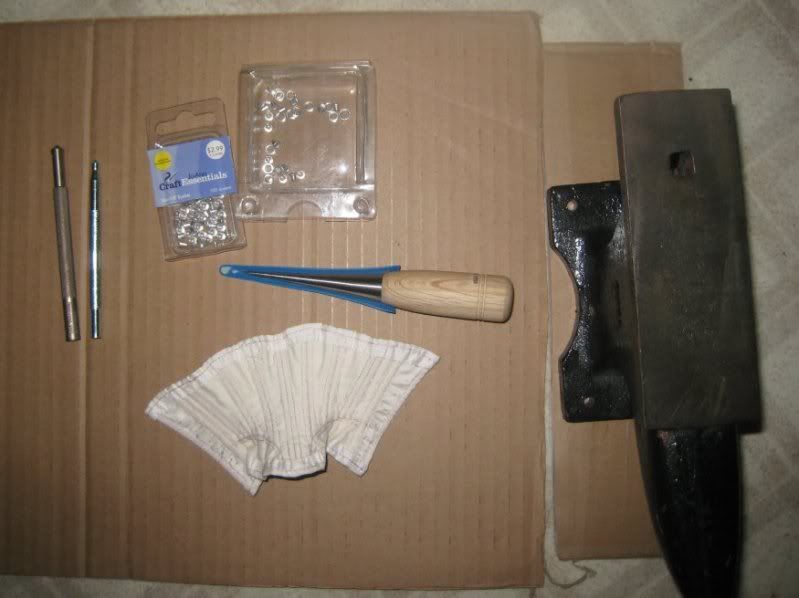
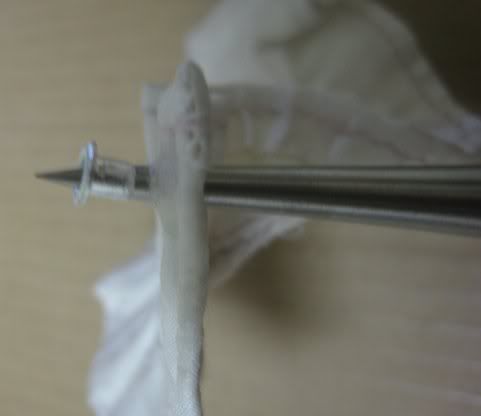
The tools of the trade

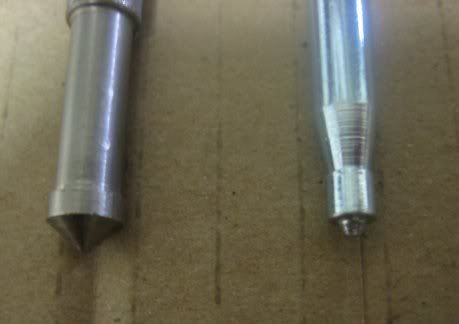
Setting tools, The one on the right was the one that I used. I think it is an older style from Making Memories?

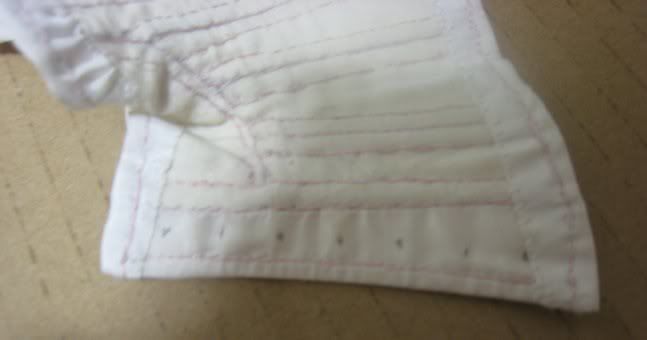
Marking the spacing for the eyelets.


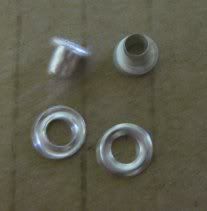
The eyelets and washers (bad photo, night time)
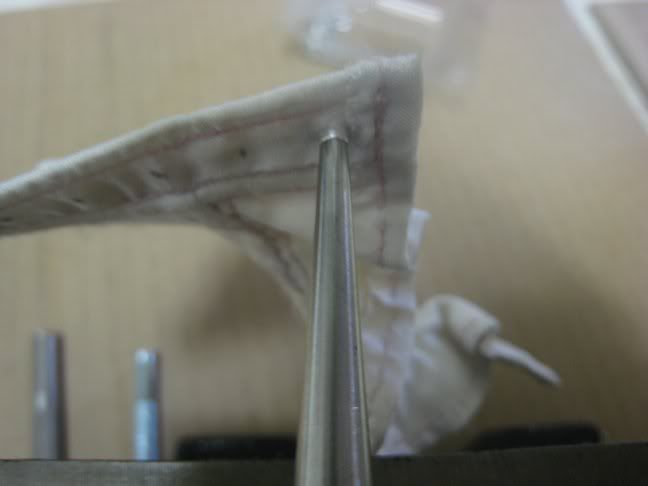
Making the hole with my lovely Awl. I have several awls, including an icepick but this is the one that feels best in the hand.


I used the string from a flour bag to lace up the corset.


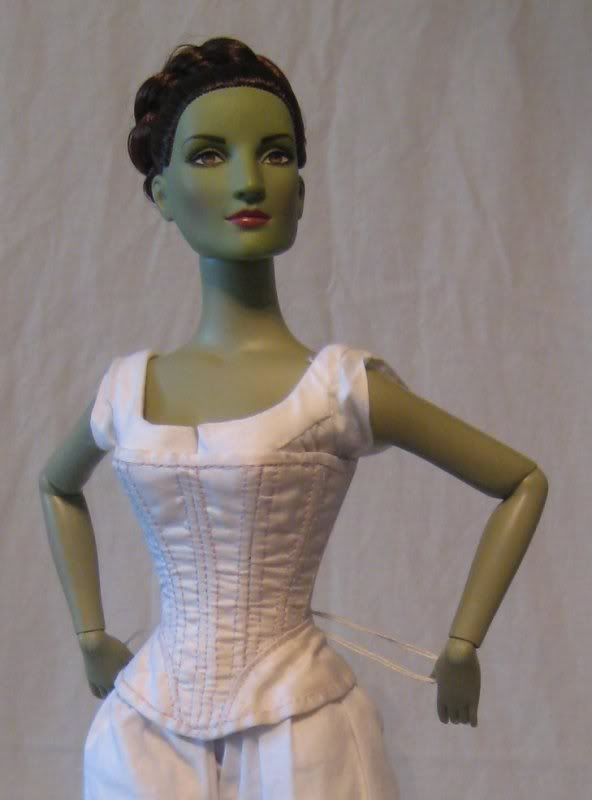
The Chemise, Drawers and Corset were finished in the first 5 days I was sewing

Tuesday, December 18, 2012

Giftmas 2012 Part 1

I tend to keep my religious and political views out of my costuming, but the winter holidays are mixed with religion, seeing how I exchange gifts with folk who celebrate various holidays in various ways, I have latched onto the term GIFTMAS to cover the gifts exchanged during the winter holidays.

This year, since I moved, I found myself NOT sewing costumes for winter events. Normally this would be clothing for the growing children.

Instead I put my sewing efforts toward gifts.

Since I good reception of the embroidered hankies from my husband. I decided to do that again, so I purchased a new set of 6, half had grey borders, the other half were blue.

I decided to go with a Geek theme for these and ended up pulling from various interests.

First one up was the Spitfire, the image was pulled off a set of WWII spotter playing cards that we have. (Reproductions)
 Next up was the Tardis, which was the most intensive one that I did!
 Then came the Star Trek insignia.
 Last was a companion cube. this companion cube is just 1" square and I didn't put it at a diagonal like the others.

Presentation is everything, so I wove them together into a pretty little square.

Even the backside is woven.

Finally a rule for scale.

I decided that I would also embroider one for a family member who has the nickname of Rabbit. the image came from The Ultimate Design Source Book for Crafters, found in the Fairies and Angels section.

I am so pleased with how the little face turned out.

Just for good measure the back of the rabbit.
Lastly I would like to apologize for the photos, I am not good at photography and had to sneak these photos when my husband wasn't looking.
If you talk to any of may family, please do not give these gifts away!

Friday, December 14, 2012

SPP 2009 Making the Chemise and Drawers

I used Elizabeth Stewart Clark's free instructions for drafting the Chemise and Drawers. I highly recommend them
Chemise
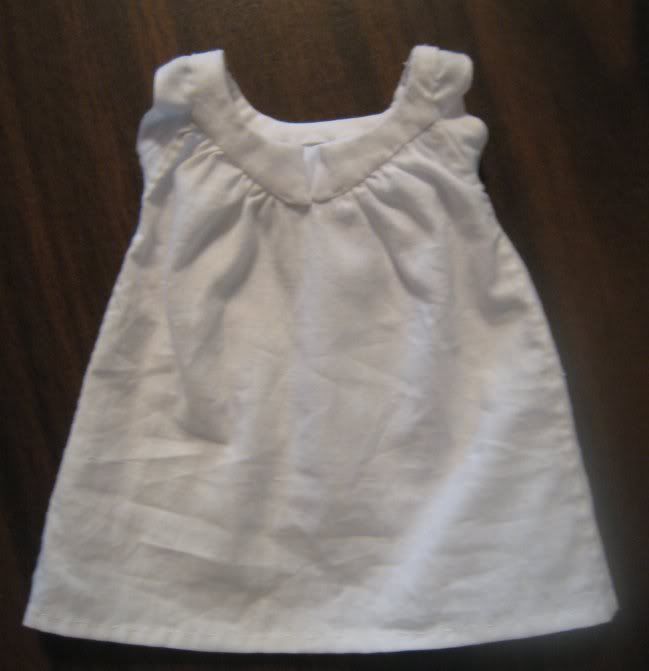
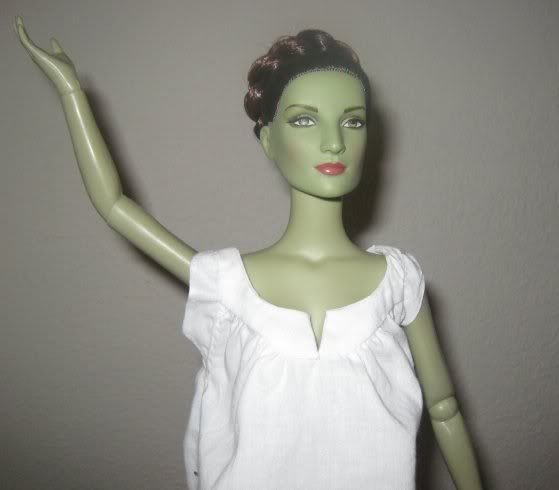
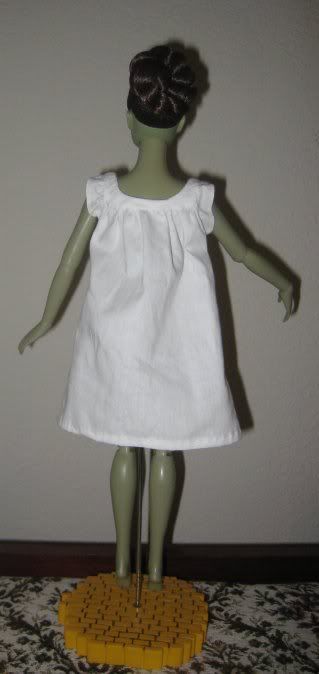
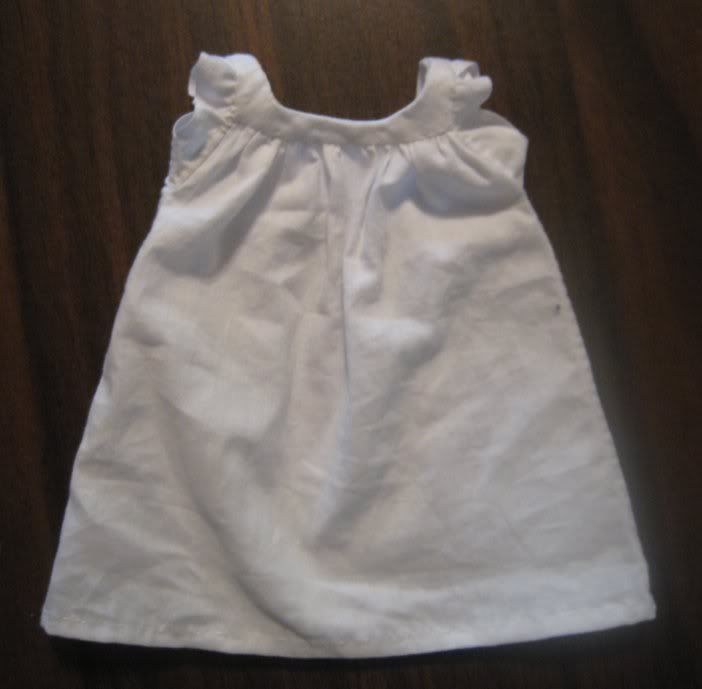
I used Mrs. Clarks' instructions to get the size. Since my doll is aprox 1/4 scale, I had some fiddling to do. I ended up cutting the body of the chemise as a trapezoid like my original 1830's chemise.
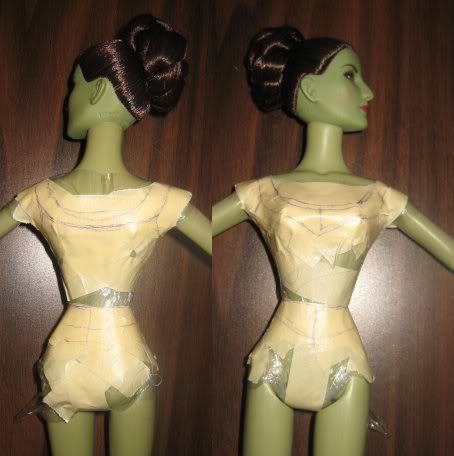
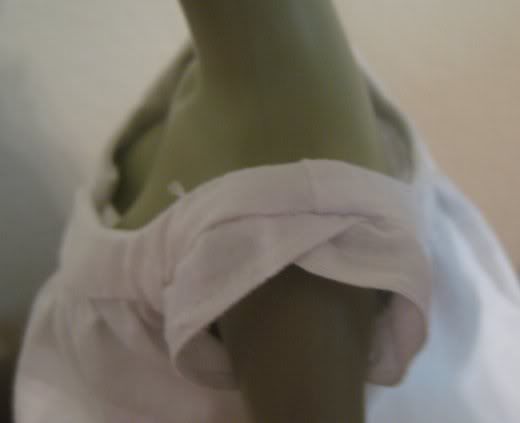
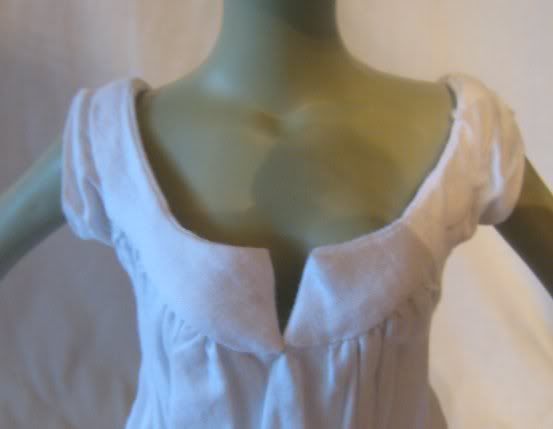
I wanted a shaped yoke that is commonly seen instead of the flat band. So I covered my doll in plastic wrap and masking tape. I then laid the scaled up pattern for the ball gown bodice on the doll and marked the neckline. I only wanted to make one chemise that would work for both bodices. The sleeves are based off of Lot 408 of the Tasha Tudor Auction.

I loved the way they over lapped and this would work great under a ball gown bodice. To reduce bulk, the sleeve hem is actual cut on the selvage, this is a trick I use often to my advantage in doll costuming.

This photo shows Elphaba in tape to make the yoke patterns for the chemise and drawers

The yoke is on the bias like my original 1830's and all seams are felled by hand, though many of the seams were sewn on the machine.


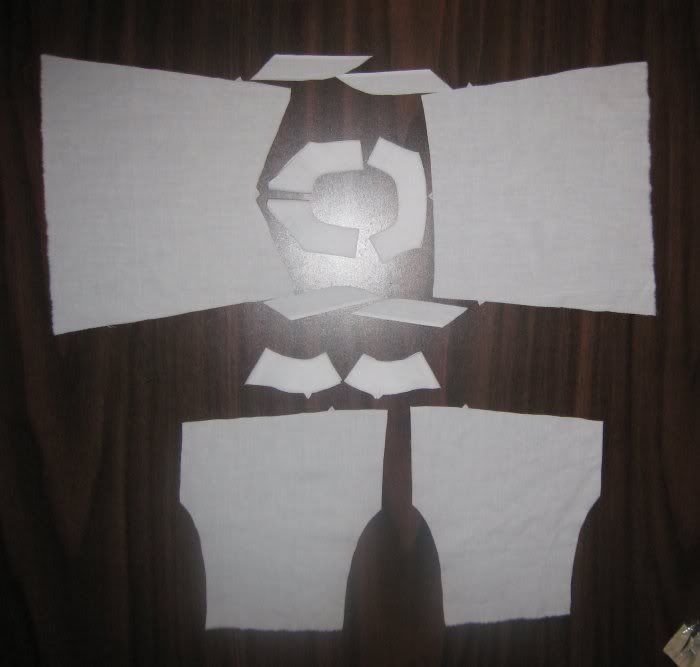
this image shows the patter pieces for the chemise and drawers.


Drawers
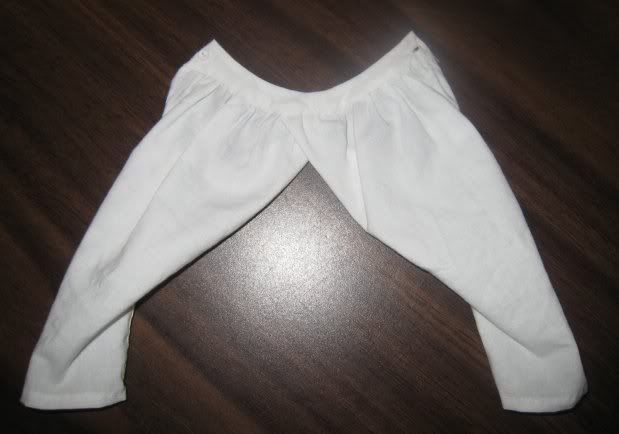
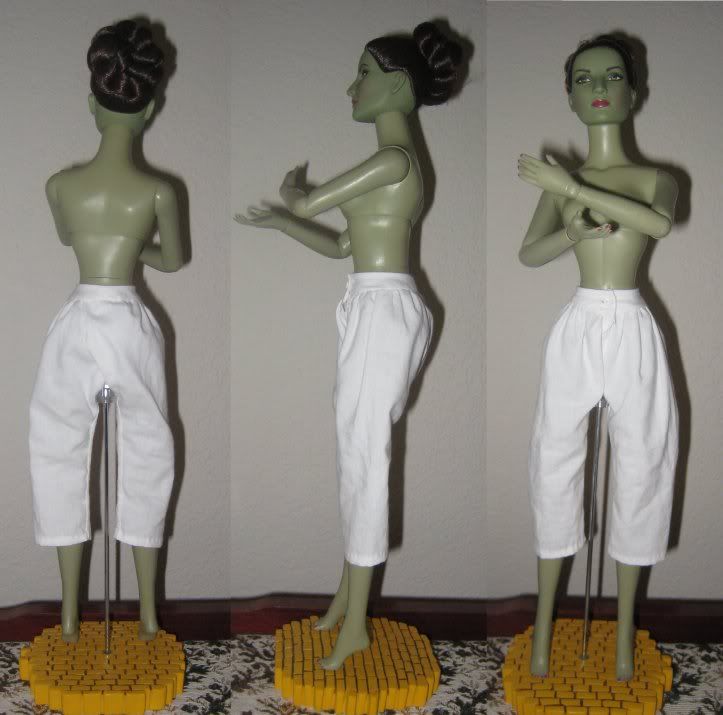
Once again I used Mrs. Clarks' instructions. Except instead of a flat band, I once again taped my doll for a pattern for a shaped yoke. The drawers fasten with a button in front, the seams are felled to the outside like on human sized.
 They eventually stretched enough to be worn over the chemise.
The Chemise, Drawers and Corset were finished in the first 5 days I was sewing

Tuesday, December 11, 2012

SPP 2009 Patterning the Corset

I love making doll corsets, properly boned doll corsets that is. I have a big pet peeve of unboned doll "corsets" fashion dolls have been around for centuries, and when they got corsets, they got miniature versions of the real deal. there are even Victorian doll corsets complete with scaled down opening busks!


Lot 722 Three Doll Corsets commercially made doll size corsets. Largest 7" H. Via Live Auctioneers, sold by Dan Morphy Auctions LLC in October 2008.

Now while I had attempted to make a doll sized corset busk before, I was not feeling up to it this time, In period the size of doll corset I would be making was most often found buskless.

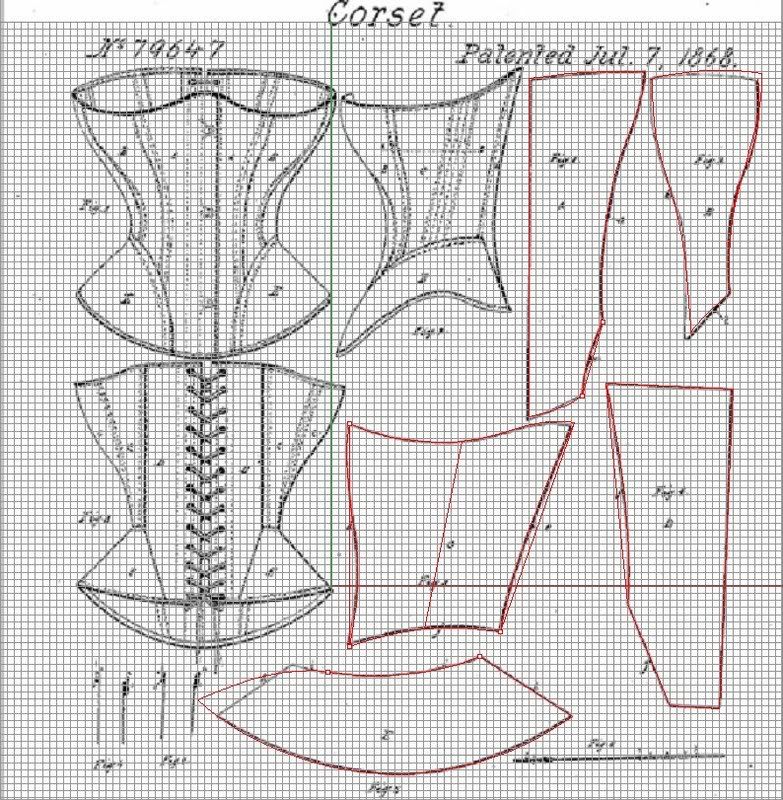
I had already found my pattern,  Us Patent 79647 by Lavinia Foy in 1868, I chose it because it didn't have gussets, and was not a straight seamed corset with vertical panels only. It was interesting, I have found that when dealing with a hard bodied doll, the seam placement has a lot to do with giving the right period corset look, since you can not change the actual shape of the body.

Source: google.com via Corsetra on Pinterest


Old patents Rock for finding corset patterns, but check to see if they include seam allowance before you use them! I took a screen capture of the PDF, and put that picture as a background in CAD, traced the pattern lines and adjusted them so that they actually matched up.
 You see my red lines are a bit different, but they all match up. (yay CAD for being able to measure lines!)
Using the measurements that I took off Elphaba, I scaled the pattern so that it was the proper front length, and printed it out!

The corset was the proper length but it was too big around! 
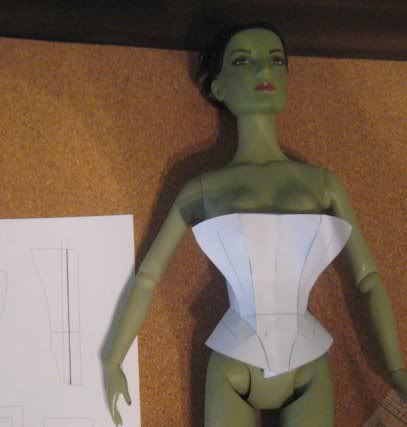
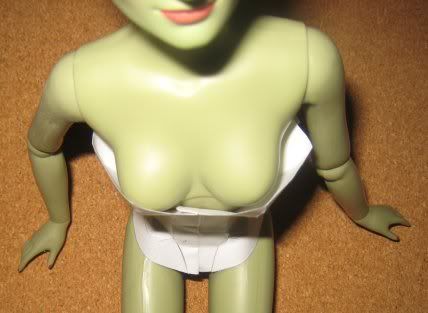
 The first thing I did was bring in the front. you want that first seam to be either right on or just inside the apex of the bust.
Elphie's apex to apex is 1 1/8" the pattern is about 2" so I took off 1/4" from each side of the front, it is still a bit to the outside, but I couldn't take any more off or I wouldn't have enough room to put in a bone.
Next I fitted the back
I folded over 3/8" off the center back
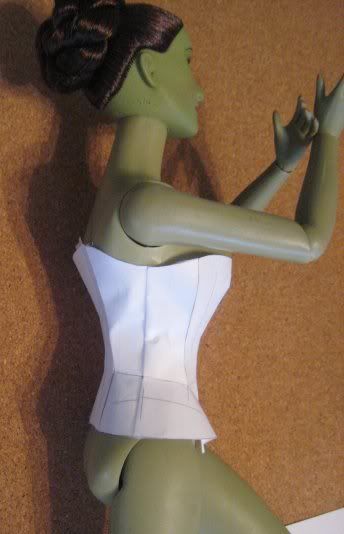
 Because I need room for the back boning, I decided to alter the back hip piece, swinging the seam straight down from the waist. this is a really simple switch.
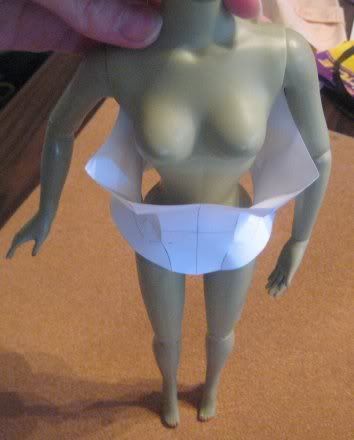
Now it was time to fit the side piece. I wrapped the corset around the waist and made a not of how much it overlapped, this would be the amount I needed to take off the sides.
I taped the back shut and to the doll at the proper waist height, and turned my attention to fitting the side pieces.
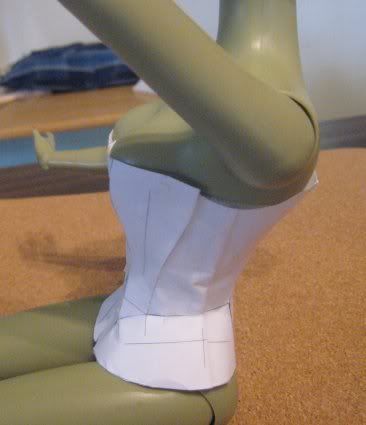
I pinched the side at the convenient grain marking I had made and took out the excess. I took it straight down through the hip piece.
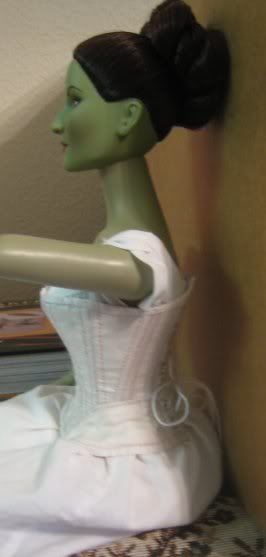
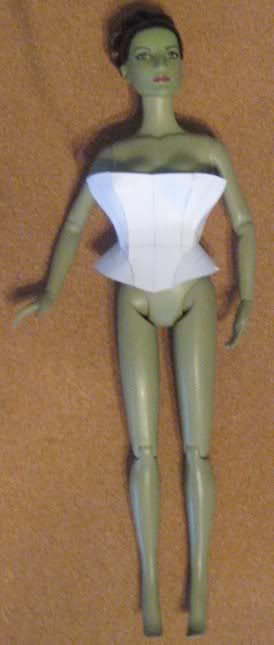
Now the waist was perfectly fitted. I decided to leave the hips a bit "free" as I found she needed this extra when I sat her down.
But the bust was still a bit too big.

This is partly due to the fact that Elphaba is made of plastic and her boobs do not have side spill. I just folded the excess to the side, and it was all good.
I then took my paper pattern back to the computer and made the changes to my CAD file.
 On the left is the original pattern with the changes marked in purple, on the right is the finished pattern all ready for printing. Notice the waist balance marks?

 Boy this post was longer than I remembered! I think I will put the actual sewing into another post.

Another method for making a doll pattern is to make a duct tape double using saran wrap and masking tape, then draw the seams on the tape.