
Sewing a diminutive properly boned doll corset is one of my favorite things. I have done it on several occasions. I shared with you the Mini Teal Corset, which was my first attempt at a busk. I have other doll corsets that I will share with you later too. But this post is about sewing Elphaba's corset.
I described the process I used to make the pattern in this post.
I used Lavina Foy's Patent 79647 Issued July 7th, 1868. It is a bit late. (One must remember that the patent was applied for many months, possibly even years before it was issued.) I chose this pattern because I did not want to do gussets in this size, and just straight panels are a bit boring. The actuall sewing follows my standard for doll corsets. I cut out the fitted pattern with no seam allowance, lay it on the cotton that I use as my strength layer and trace around the pattern piece.
The CF and CB are on the fold. I then baste my fashion layer to this just on the outside of my traced line. My fashion layer was a thin white silk in this case.
The CF is cut on the fold because I have not come up with a good way to make a busk for dolls. My last attempt in the Mini Teal Corset was for a larger corset and while it did function it was not pretty. Also most of the doll corsets I have seen with busks are larger and from a later date (1880's?)
The CB is cut on the fold because a seam at the back would add more bulk, and it gets really narrow when you need to put in eyelets.
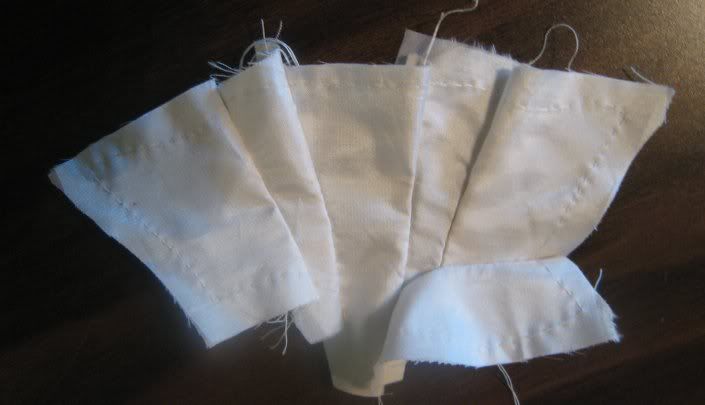
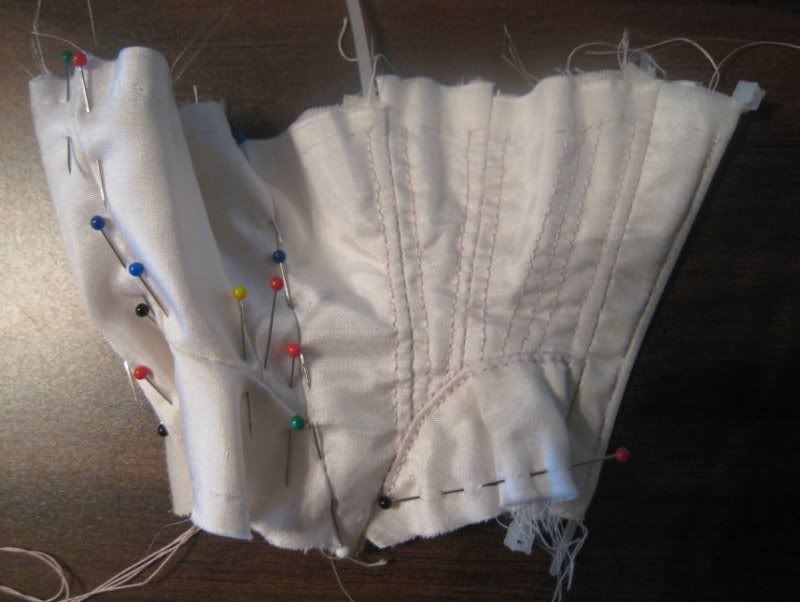
This image shows the side pieces of cotton flat lined to silk exterior as they are being basted together before assembly.

After I have the layers all basted together, I cut them out leaving 1/4" all around them, then I sew the pieces together. For this corset, the fronts are sewn together, then the side is added, the the hip gore is sewn in and last is the back panel.
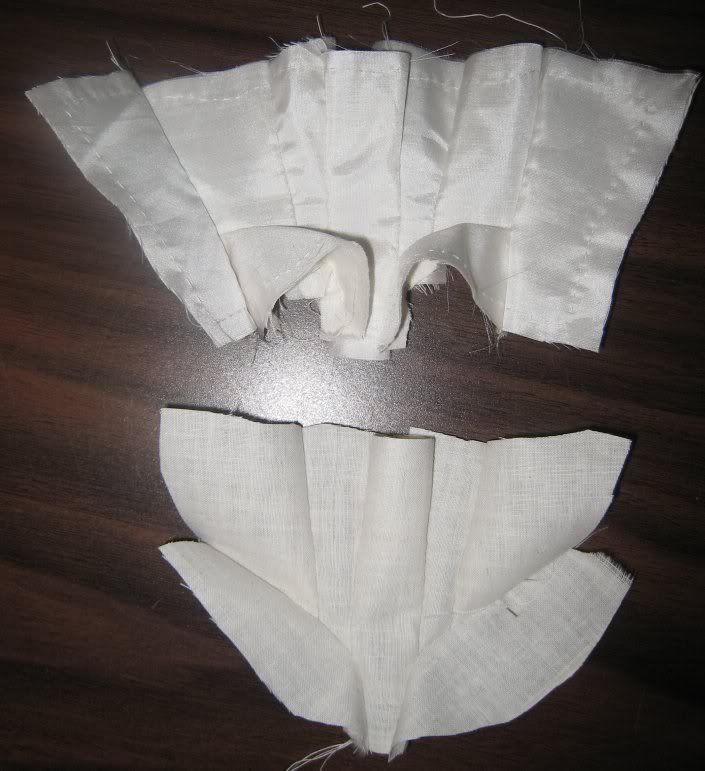
The image shows the corset with one hip gore sewn in, as seen from the inside.

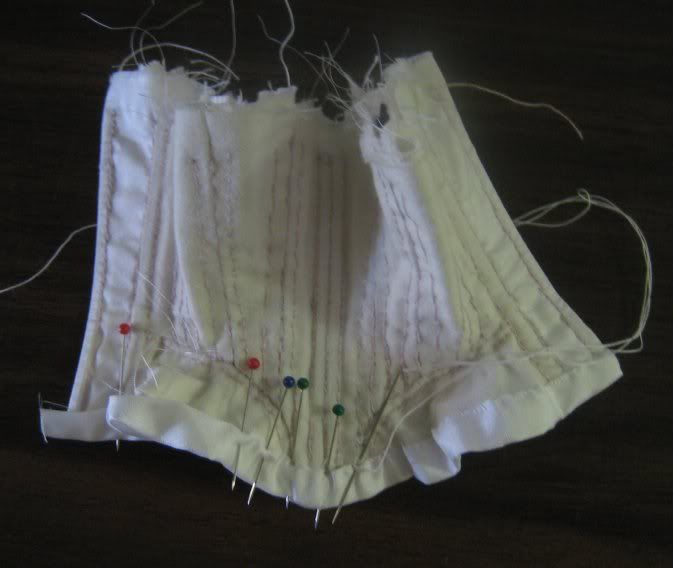
The corset at the same stage as seen from the outside
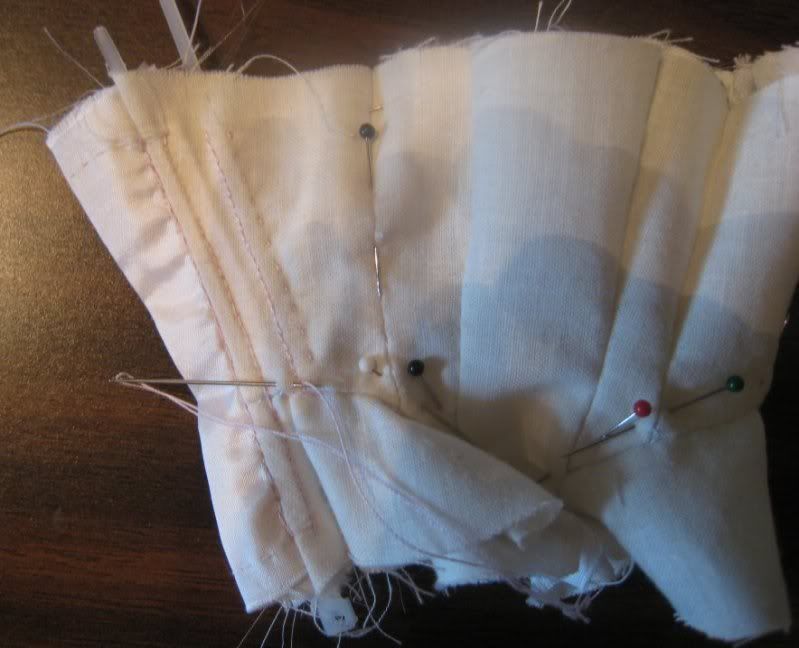
Then add the lining in the sandwich style, press seam allowances open so bulk is even on both sides, and stitch down the seam to hold all layers together.
This image shows the exterior silk corset on top and the plain cotton lining below. the lining does not have the back panel since it was cut on the fold, which is why they are not identical.
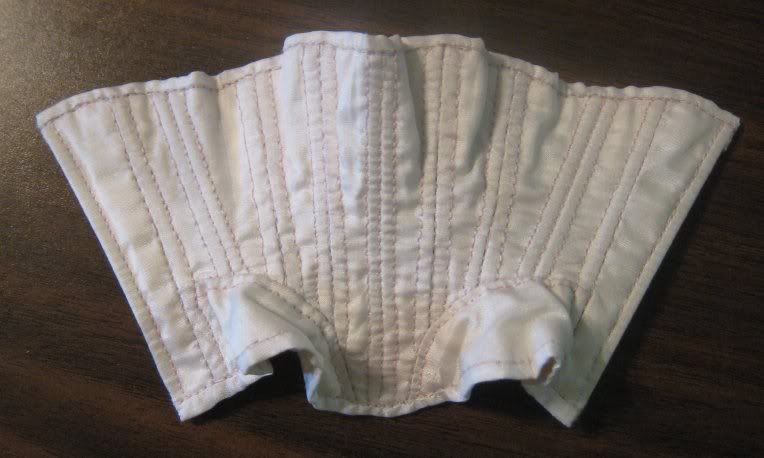
Then stitch the boning channels, for which I used pink silk thread to stitch them using a back stitch. I used 4" cable ties for this corset, 14 of them were enough to bone all 18 channels since the ones on the side do not go into the hip gore I got two bones from one cable tie in those instances.
Sewing boning channels, as seen from the inside.
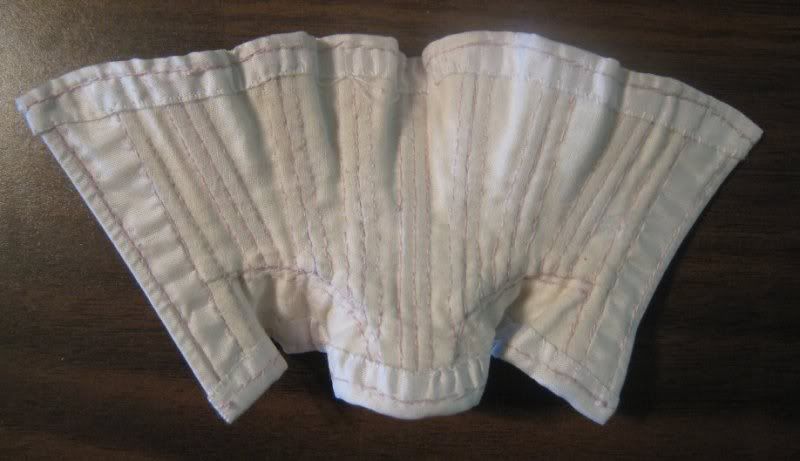
Sewing the channels as seen from the outside
Then I bound it in a strip of the silk, I often actually use silk ribbon for this application, but couldn't find mine. This is another reason why I used a silk fashion layer, it is thin, to use cotton as the binding would have added a lot of bulk. The binding is cut from straight of grain. when finished it is 1/8" on the outside but much larger on the inside, this was for my ease of finishing and it actually makes it a bit more stable.
Sewing the binding down on the inside
The finished binding from the outside.
The finished binding from the inside
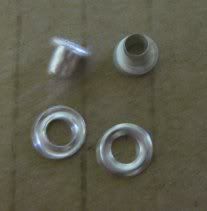
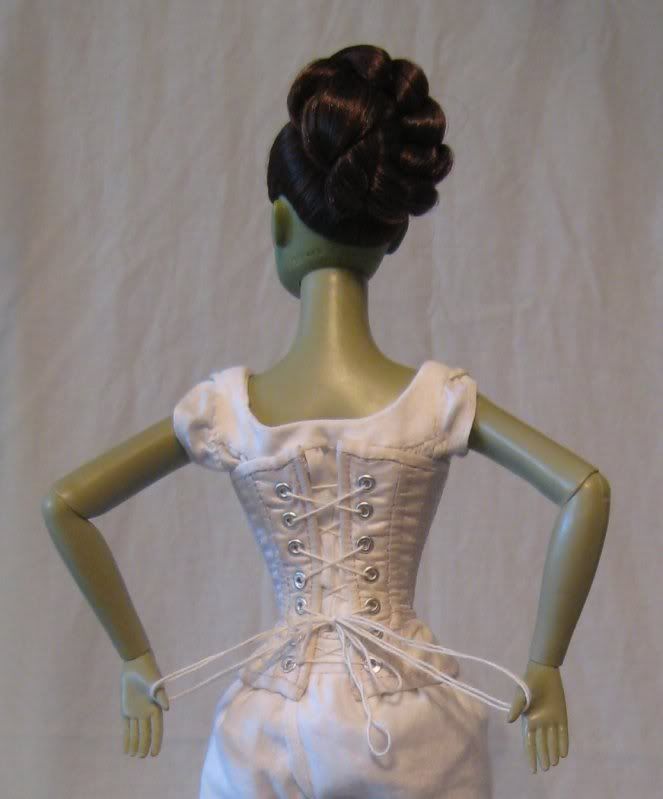
Then I put in mini eyelets with washers that you get at scrapbook stores.
There are several brands of Mini Eyelets to choose from. Making Memories is a commonly available one.
7 mini eyelets with washers! on each side. don't ask me where I got the washers, it was a scrapbook store in Washington state, many years ago and the label has been long lost. These washers are domed just like real grommets. I have saved them and prized them. I used mini eyelets from Joanns though as they have a longer shank than the ones from Making Memories. If you can't find min eyelets with washers, take your mini eyelets to the hardware store, I find that size 5 metric have the right internal diameter for the mini eyelets, but are larger external diameter, so they look funny on the wrong side.
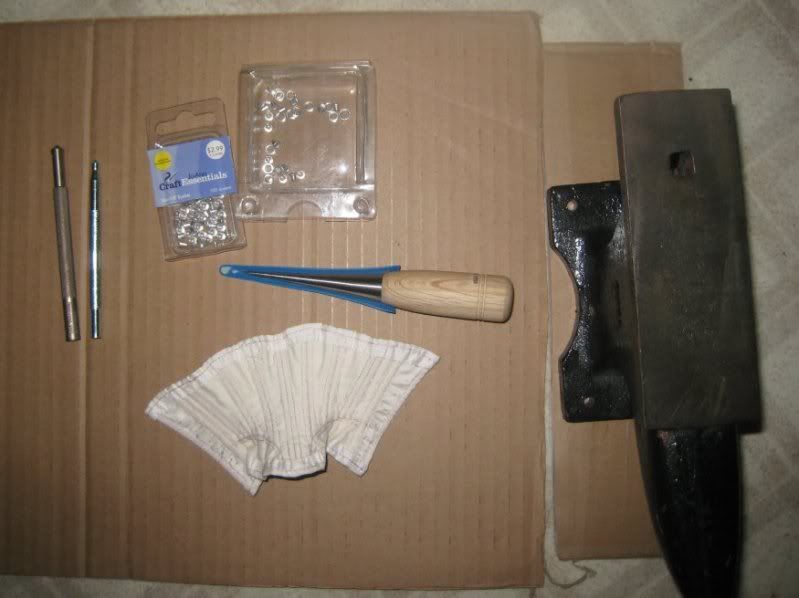
The tools of the trade
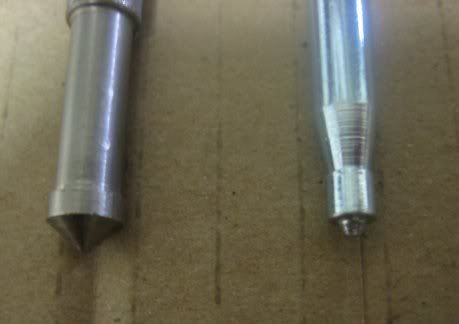
Setting tools, The one on the right was the one that I used. I think it is an older style from Making Memories?
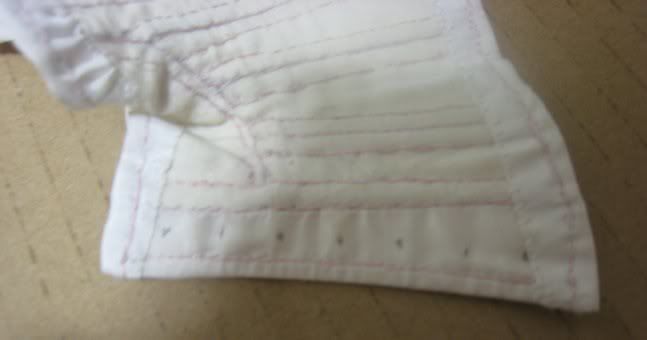
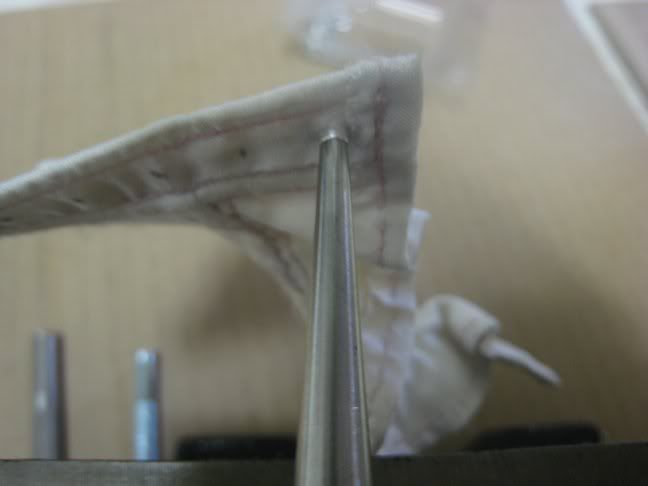
Marking the spacing for the eyelets.
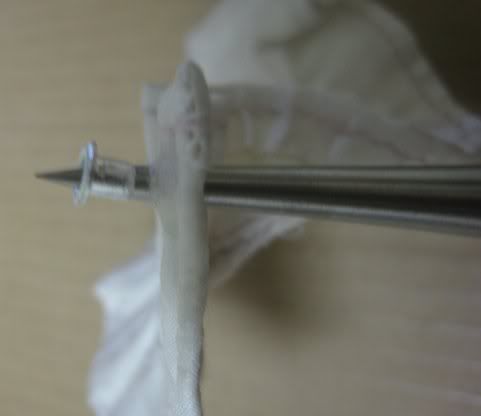
The eyelets and washers (bad photo, night time)
Making the hole with my lovely Awl. I have several awls, including an icepick but this is the one that feels best in the hand.
I used the string from a flour bag to lace up the corset.
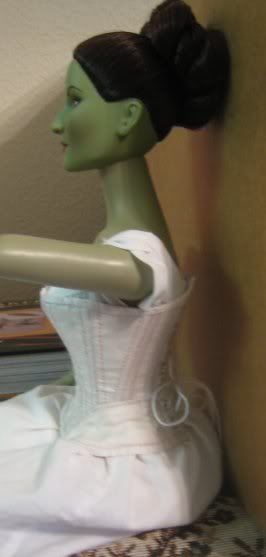
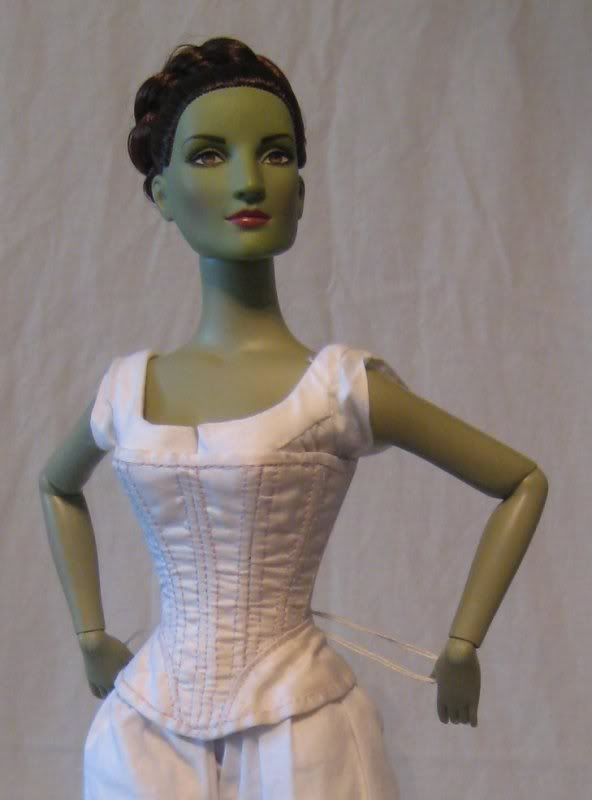
The Chemise, Drawers and Corset were finished in the first 5 days I was sewing
No comments:
Post a Comment