

Lot 722 Three Doll Corsets commercially made doll size corsets. Largest 7" H. Via Live Auctioneers, sold by Dan Morphy Auctions LLC in October 2008.
Now while I had attempted to make a doll sized corset busk before, I was not feeling up to it this time, In period the size of doll corset I would be making was most often found buskless.
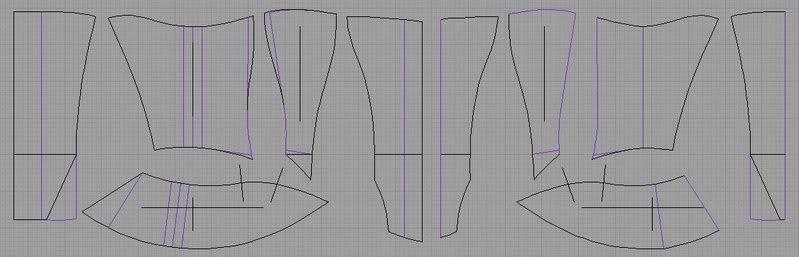
I had already found my pattern, Us Patent 79647 by Lavinia Foy in 1868, I chose it because it didn't have gussets, and was not a straight seamed corset with vertical panels only. It was interesting, I have found that when dealing with a hard bodied doll, the seam placement has a lot to do with giving the right period corset look, since you can not change the actual shape of the body.

Old patents Rock for finding corset patterns, but check to see if they include seam allowance before you use them! I took a screen capture of the PDF, and put that picture as a background in CAD, traced the pattern lines and adjusted them so that they actually matched up.

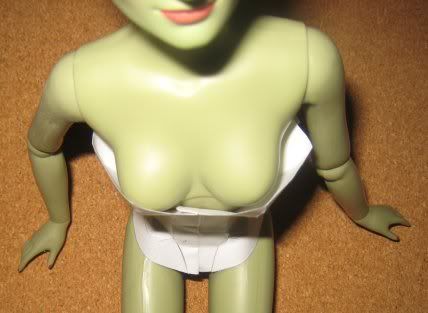
Using the measurements that I took off Elphaba, I scaled the pattern so that it was the proper front length, and printed it out!
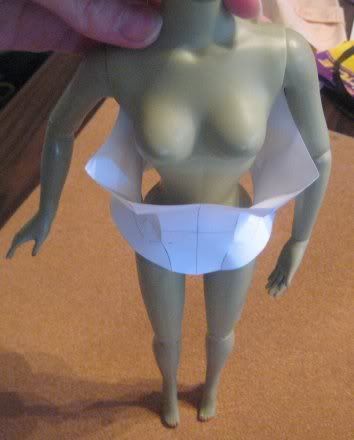
 The corset was the proper length but it was too big around!
The first thing I did was bring in the front. you want that first seam
to be either right on or just inside the apex of the bust.
Elphie's
apex to apex is 1 1/8" the pattern is about 2" so I took off 1/4" from
each side of the front, it is still a bit to the outside, but I couldn't
take any more off or I wouldn't have enough room to put in a bone.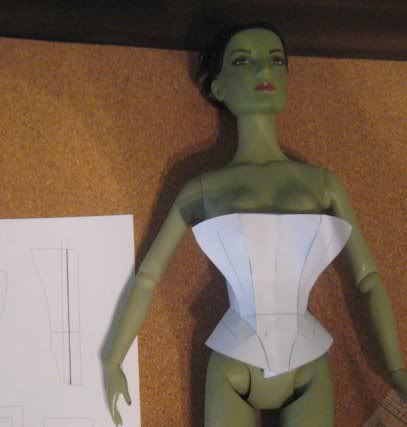
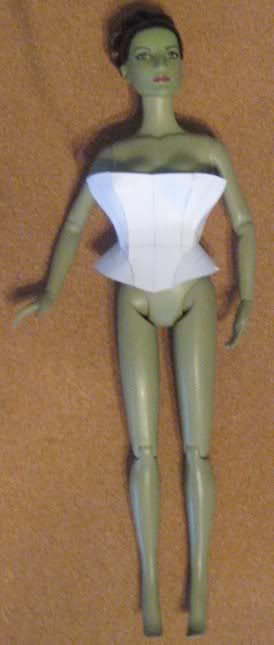
I folded over 3/8" off the center back

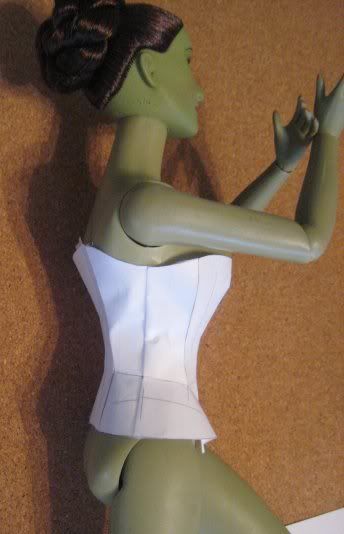
Now it was time to fit the side piece. I wrapped the corset around the waist and made a not of how much it overlapped, this would be the amount I needed to take off the sides.
I taped the back shut and to the doll at the proper waist height, and turned my attention to fitting the side pieces.
I pinched the side at the convenient grain marking I had made and took out the excess. I took it straight down through the hip piece.


Boy this post was longer than I remembered! I think I will put the actual sewing into another post.
Another method for making a doll pattern is to make a duct tape double using saran wrap and masking tape, then draw the seams on the tape.
This comment has been removed by a blog administrator.
ReplyDelete