Showing posts with label organization. Show all posts

Friday, September 13, 2013

Pockets for the Bed

Organization.
It's important. A place for everything and everything in it's place. Especially when your space is small.
I mentioned in the post about my Bed Curtains that the current living arrangement for my family is living with relatives and all sleeping in the same room. It is tight and there is NO space for books or toys in the bedroom. (though my husband keeps creating a PILE of books beside the bed.

School just started and we were practicing several weeks ahead of the actual start to get ourselves back in routine. Kids are slow in the morning, so one of the common pieces of advice about getting them ready in the morning is to have they get their clothes set out the night before. There is no place for them to do that in our room. Yes there is a dresser, and they could put their clothes on top of that, but it normally is buried under the stack of books from my husband and the lonely sock bin. I just removed those from these pictures.

Instead I thought that I could make a set of pockets to hang over their headboards (yes the actually headboards are arranged at their feet, it was how things worked in our room, I will explain things later.)

I went through my stash of novelty cotton prints and while I had all the fabric for the pink one, I still needed to get solid blue and green for the boys.

First up is the Eldest's bed. His bed frame is home made (re-purposed posts no less.) and is currently attached to the shelf frame over his bed on the far end. In a room with so little floor space, all storage (extra blankets, towels and out of season clothes) must go UP. His bed is too low to the ground for any under bed storage.

He likes Blue, Red, Vehicles, especially trains, buildings and Dogs, so I had been collecting prints from the Traveling with my Pets line by M'Liss for a while. this was an opportunity to use them.


Next child has an Extensible bed from Ikea and has an under the bed drawer/bin for some clothes. Bears and Tractors are just right for him. Pockets are of differing lengths inside and outside the bed to accommodate mattress height.


Last child also has an extensible bed from Ikea with a draw bin under it. This one required an actual pattern to be made because of the curve. The other two were done by just using measurements.


I LOVE these extensible beds from Ikea, they are twin width but you can set them shorter, they are currently set to their shortest to allow us to have some room to walk between the beds. The reason that the headboards are near their feet is so that they can have drawers under their beds without the third leg, which supports the bed in the middle, being in the way.

The tall dresser between the boys' bed is half Husband's and half Eldest. The dresser between the youngers beds is mine, the other large dresser is the kids' Most of Hubby and mine's clothes are hanging on the wall next to our bed behind the curtains. I also hang some on the wall between Daughter and our's bed, which I removed for photos.

As you can see from the floor plan above, which I made when we were trying to find a better layout for our room many months ago (I LOVE CAD!), there is just about 2 feet of walking space between all beds, the best we could do since we determined our children would not be safe in a bunk bed just yet. There is a laundry basket, for clean clothes, that lives between our and Daughter's bed, and a laundry hamper, for dirty clothes, that lives at the end of Eldest's bed, another laundry hamper is in the bathroom of course, and then there is always a pile of socks under my husband's computer table.....

Now the children haven't quite gotten into a routine of putting the next day's clothes in their pockets, but at least they have the option, and I USED SOME STASH! with 2 children at school, I foresee a lot more sewing in my future.


Tuesday, April 2, 2013

Welcome April!

I know I am a bit late on my wrap up post for March, My children are on Spring Break and that has changed my daily schedule.
The weather is unusually warm and so we had a lovely egg hunt in the backyard on Sunday.

The early part of March I spent sick, this germ is a persistent one, as I feel it has not left me fully.

I wrote a book review on a Teddy Bear Making book, and I uploaded an edited review to Amazon.

I have been spending time on personal enrichment, well it isn't ALL personal, I am reading and taking classes to help me further my goals, the whole reason why I have this blog: to bring Corsetra Designs into a fully functioning state.
During this I was so inspired by Huge Macleod's How to Be Creative, that I shared it with you.

As I mentioned in my wrap up post for February I was going to be rearranging my work spaces, well I did that, but not good enough for pictures. This moving of my computer desk prompted me to blog about how I store my patterns.

I also have rearranged other areas of my living quarters, in fact I spent all of yesterday cleaning one of my children's play areas on one of the levels of this house. (they have 3 play areas, not including the bedroom.)
To this extent I did some personal sewing, I made curtains to go around my bed.

I STILL have more cleaning and rearranging to do in my living quarters, and some sewing to do for this organization.
Spring is here, so enjoy the warmer weather and growing things.


Saturday, March 30, 2013

Bed Curtains

Personal Project Alert
I have mentioned before that I am reorganizing my living spaces. one aspect was to move my bed and add curtains around it.
Last night I finally finished that project.

My husband and I wanted curtains around our bed for some privacy, as we share the room with our children.
Here is how I accomplished that.

First I did room measurements, then I took my stud locator and found where the beams in the ceiling were.

When I knew the measurements I multiplied them by 1.5 so that the curtains are not too full.

We wanted the top of the curtains to still allow the sunlight to come in, as it helps us to wake up. I figured on about 24" for that. The bottom part ended up being the same size as a Twin Sheet, so that is what is is!

Yes our bed is IN the closet!

I did have one complication. there is a shelf on one wall that sticks out 20"
I thought long and hard about how to deal with this, my solution was to add a smaller, shorter panel to hang from the underside of the shelf. the top part is cut the full width of the curtain, and with the removal of the shorter panel, could be attached nicely to the bottom half and be a fully matching curtain.

Magnus says Hi!
The sheets are not that opaque, but a little privacy is all we need.

The sheets are poly cotton, and were $8 each, but there was a buy one get one half off sale, so that was actually $12
The top fabric is a curtain fabric and was under $4 a yard, I bought 2 yards, it is 108" wide, 100% poly.
I had just the right shade of blue in my stash, and just enough of it too! the rope was from my local Sailor, eyebolts found in the shop.

$20 project! and it makes me happy, if my children can leave my curtains alone, they will get their own!


Thursday, March 28, 2013

How do you store your patterns?

I moved my computer desk recently, which required me to clean it off! in the process I found no less than a dozen patterns that needed to be put away. I thought this would be a good time to share how I store my patterns.

First off, there is no right way to store patterns, what works for me may not work for you.

I have several different patterns, of several different types and I have different methods for storing them.

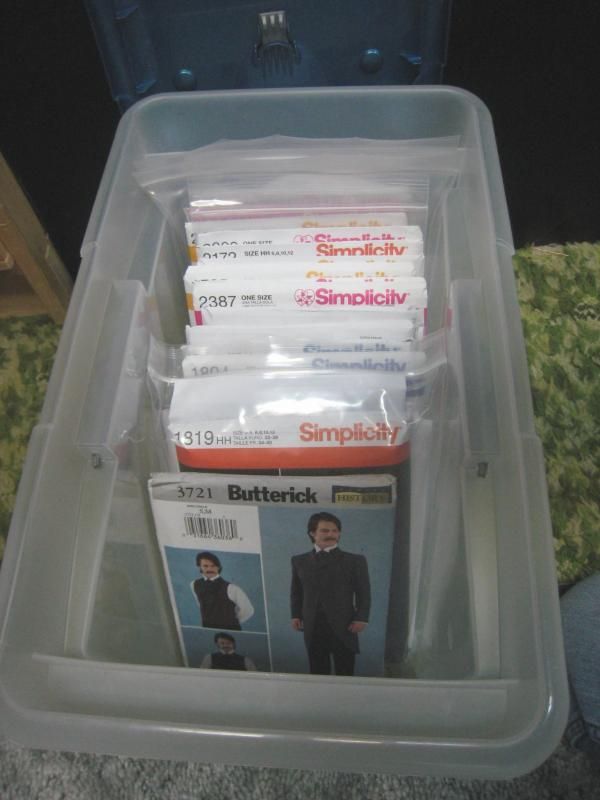
First off, the Big Three (Simplicity, McCalls, Butterick)
I store these in what are often sold as File storage, and indeed they are intended to hold hanging files.
I like them because they are clear so I can see which type of patterns are in them. I also often make a label for the bin. (historical costume, costume, craft, mundane, McCalls, Simplicity, Butterick.)

Initially when I start a new bin, they go in this way, as it is easier to flip through them, but as the bin gets more full, I turn them 90 degrees and put in two rows. This works well for Simplicity and Butterick, not so much for the McCalls patterns which are just a bit wider.

Since these bins are designed for files, you can store all most all sizes of patterns in them, you just have to orientate them efficiently!

If you have a few patterns, this will work well, but if you have lots (I have enough to fill a half dozen of these bins) it is not really the best storage option, they are not square on the outside and thus can take up a bit more space than they need.

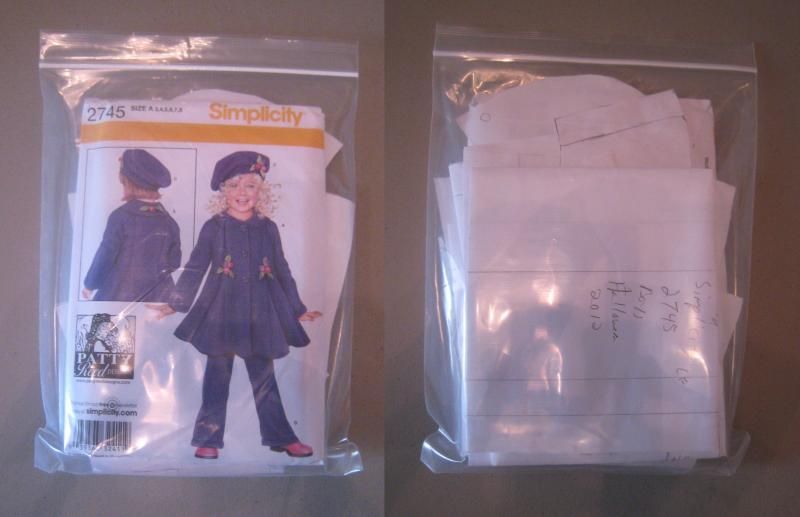
You may have noticed that some of those patterns are in zip top bags.
This is because I have USED the pattern.  I ALWAYS trace off the pattern, never cutting the originals. I do this for several reasons
  • tissue paper tears
  • I need to make more than one size
  • I need to alter the pattern
  • I want to be able to give or sell the pattern intact someday
This is Simplicity 2745 which I used to make coats for my children for Halloween 2012 you can read my review and the pattern alterations I did to it.
Please note that I wrote the pattern number, size and pattern piece on EACH pattern piece in the bag.

By the way, the bag size I use for Simplicity patterns is 8X10 and 2mil is fine for storage.

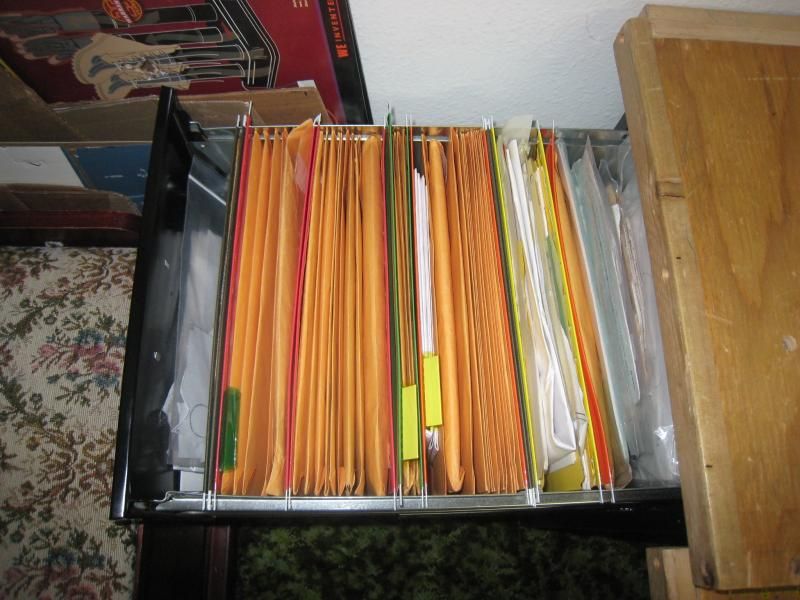
Many of my patterns are actually stored in my file cabinets. My computer desk is a table top over two file cabinets, home made from re-purposed wood, it is not the prettiest, but VERY functional, and not hard to move once the file cabinets are emptied and the top is just lifted off. (yes we think about these things in our furniture)
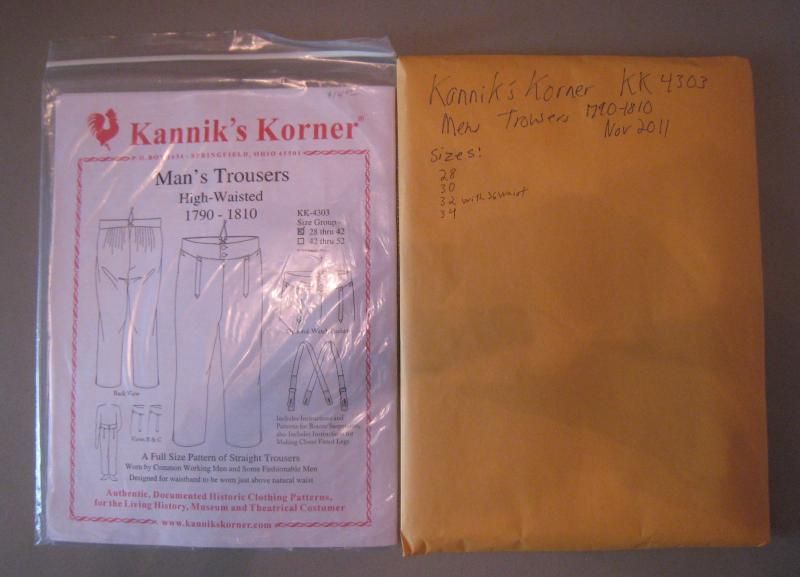
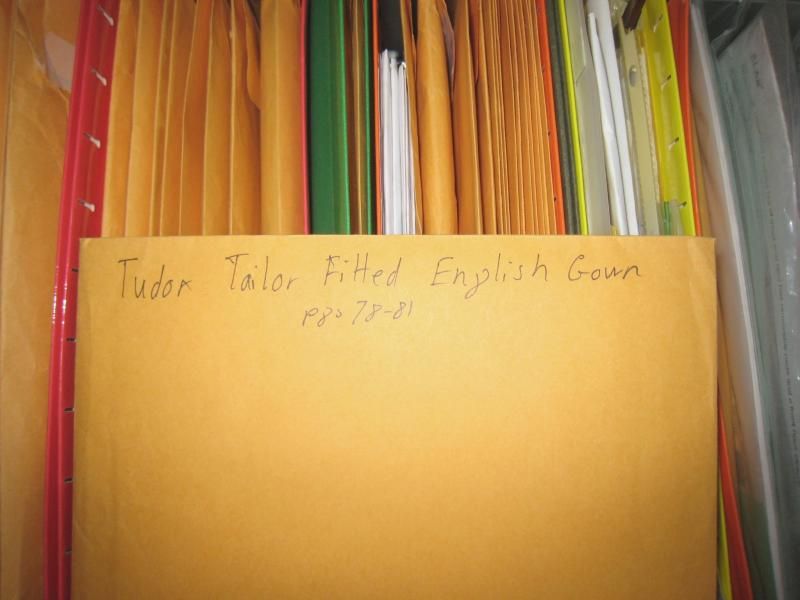
Here I have them organized a bit better, most are in paper envelopes, but some are in plastic bags. This is where I store my larger Historical patterns.

Notice on the front of the envelope I have written down the pattern name and number, the sizes and even the date that I made them. Inside there is a sheet with peoples measurements too.

I also store patterns from books here.
Note that I wrote down the page numbers the pattern came off of as well as the book and pattern name.
For this pattern, I didn't have to do much alterations, so there isn't additional measurement info on the outside. (I am on the smaller side of normal, so the patterns fit rather well out of the book!)

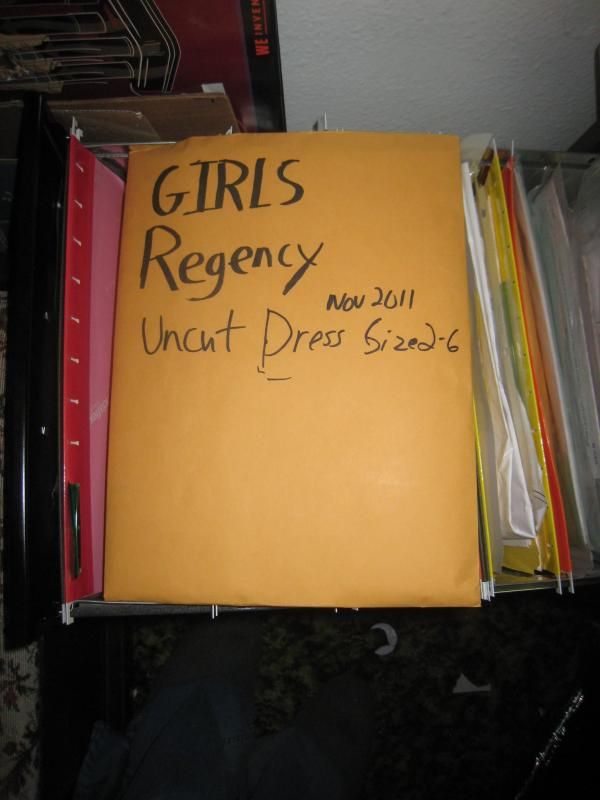
Then of course there are patterns that I make
Note that this copy of the pattern is labeled Uncut, and it is supposed to STAY that way, this is my paper copy in case I lose my digital data. It is also dated should I ever need to update the pattern, I won't accidentally grab the older version.

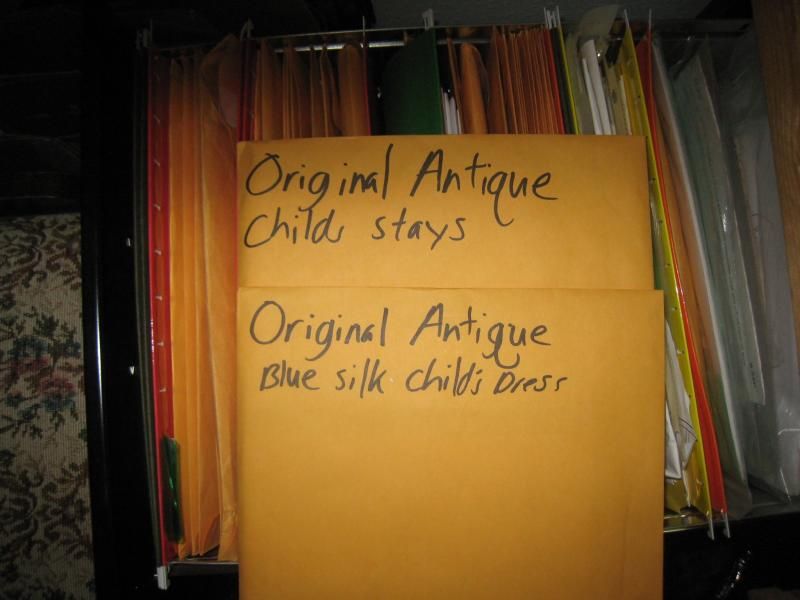
And of course I have patterns taken off of original garments that I plan on turning into patterns
These envelopes contain more than just the pattern though, they will contain other written information like the research I have done on them, photos, and receipts from purchase.

No, I haven't shared anything about those two patterns yet. ;)

Of course not all my patterns are put away this neatly, here are some examples of the less neat patterns in my file cabinet.
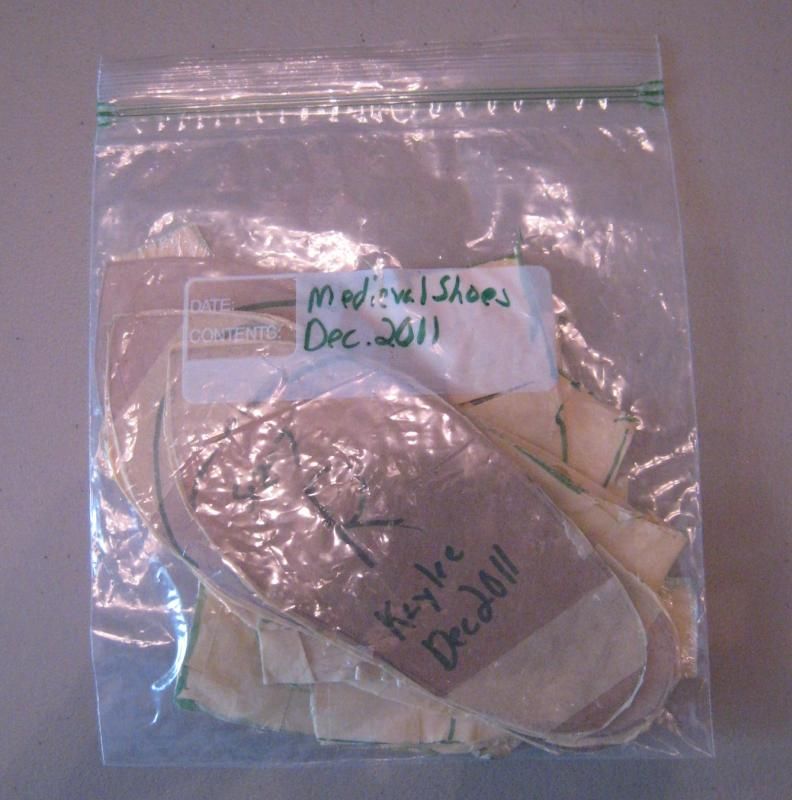
I did paper tape shoe pattern making on my children. Note that the ziplock bag is titled and dated. Each pattern piece is labeled with the child's initials, date, shoe size and left or right.

I reuse envelopes, which means that many of the large envelopes you saw in my file drawer have my address on them! The above pattern is one I JUST made and haven't made up yet. I should date it, it is sitting right here on my desk, there dated!


Anyone recognize this pattern? You should, I have posted the finished product. This one may or may not end up in a paper envelope. I tend to use the plastic 9X12 zip bags for pattern storage as I am working on a project, and paper for when it is finished. But this pattern was not a full success.

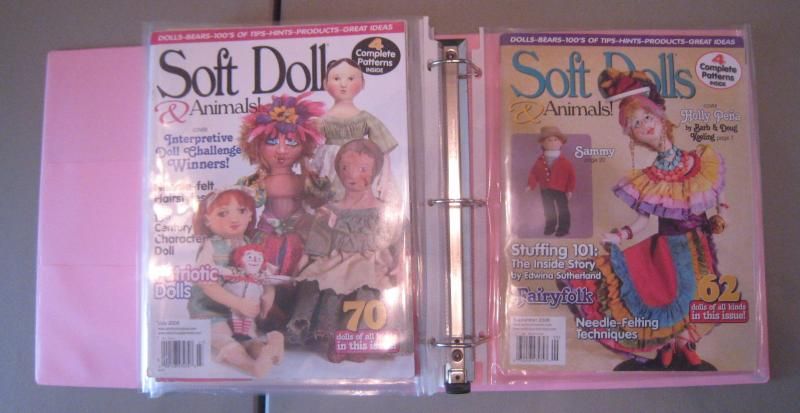
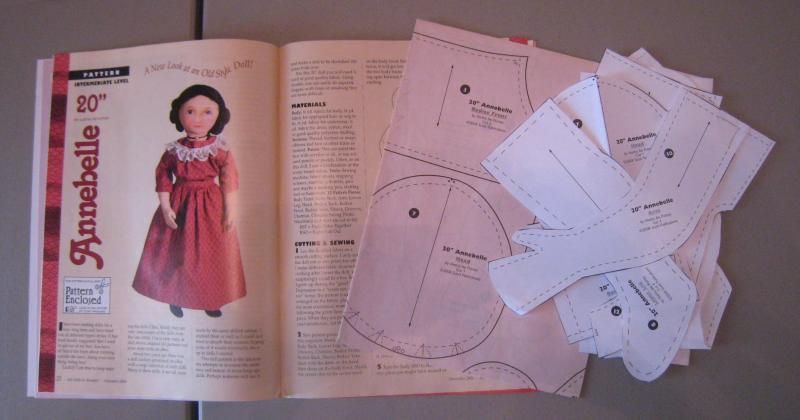
Then there is another category of pattern storage, I subscribe to Soft Dolls and Animals, which always has a pattern pull out in the magazine.
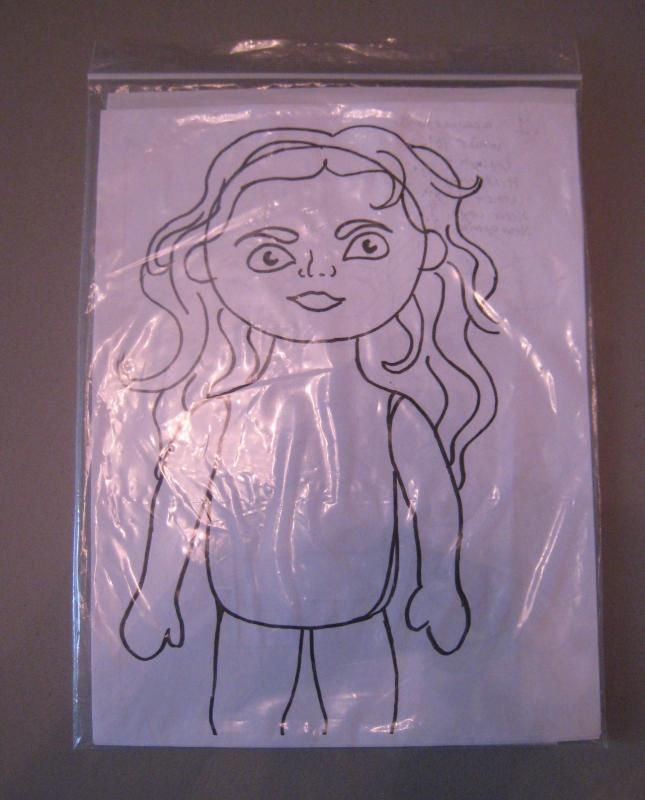
I used to store these in magazine holders, which work okay for me, but if you take the pattern insert out it could get separated should the magazine holder ever be knocked over.

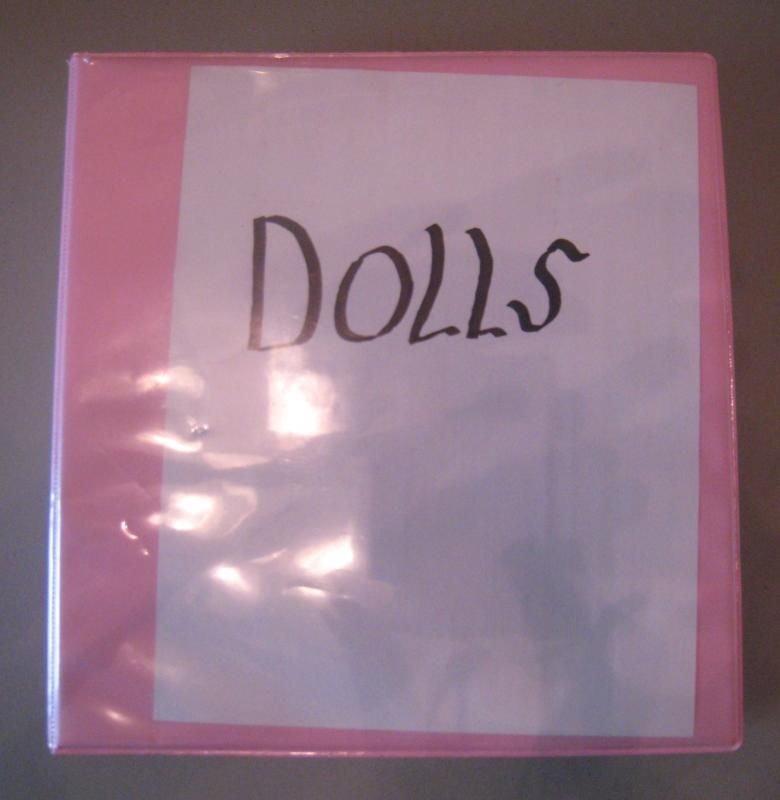
Then I went to Binder Storage and used these holders for the magazines and regular sheet protectors for the patterns.
I am currently using Expandable sheet protectors to hold 2 magazines in each one WITH the patterns inside the magazines.

I would love to have a 3 ring sheet protector that had a zip top like these to try out for those loose pattern pieces.

Now there is one last pattern storage category I would like to go over, the In-Progress category.

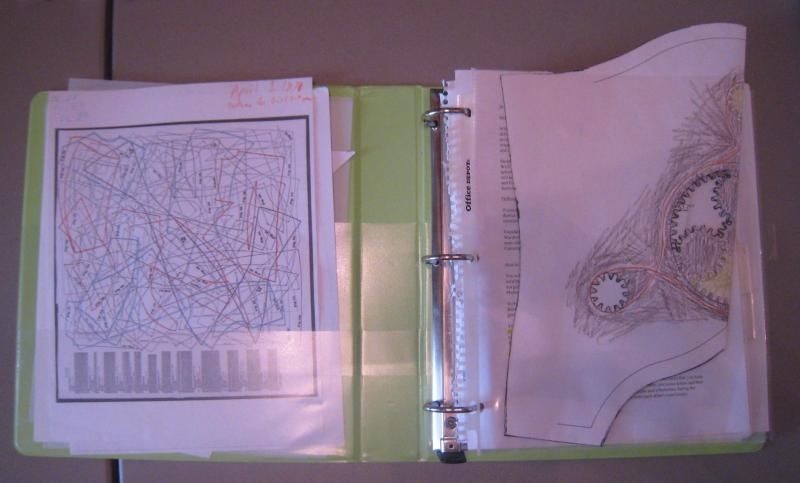
I have two ways of doing this, when it isa large project, like a garment, I like to put the patterns, and all other papers, like research and inspiration, measurement sheets, receipts, and design sketches into a binder.
This is when the sheet protectors get the most use, after the project is completed (and I am being a good organized girl) i will put the pattern into a proper envelope for long term storage.
In the mean time, it will look like this:
To reduce the need for several books to be open, I photo copy the needed pages and put them in my binder. You can tell that some pattern pieces will need to be folded down a bit before they go in the envelopes.

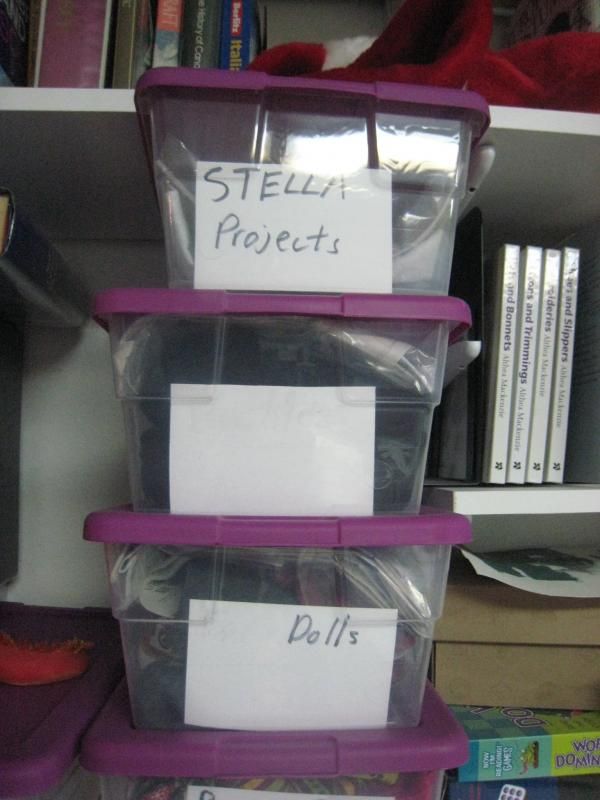
For little projects, the pattern will live with the materials in a bin.

I label the bins so that I know what is in them. I had to do some photo editing on this picture since some are future gifts. ;)

There is a problem with doing this though, you may never get back to that project! it has happened to me several times, I am hoping them being so blatantly obvious means that it doesn't happen again!

So there are some of the ways that *I* store my patterns, each has it's advantages and disadvantages and may not work for you.

Here are some last tips
  • Label EACH pattern piece! I had some loose craft pattern pieces on my desk that I have no clue what they were.
  • Label the envelope
  • Include dates and sizes
  • Group like patterns together, but maybe not in the same packaging
  • What ever works for you is fair game
How do YOU store your patterns? I would love to hear from you.