Showing posts with label Elphaba. Show all posts

Sunday, December 23, 2012

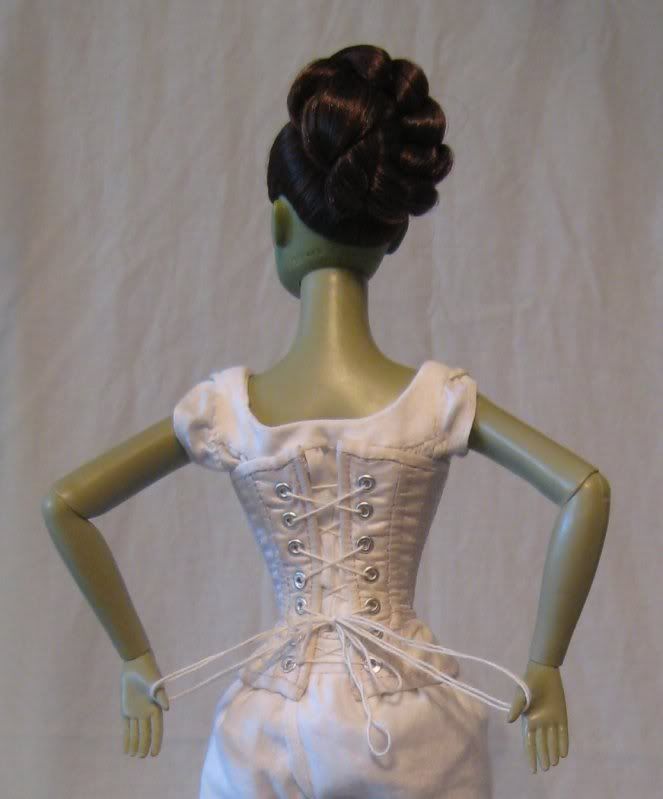
SPP 2009 Sewing the Corset


Sewing a diminutive properly boned doll corset is one of my favorite things. I have done it on several occasions. I shared with you the Mini Teal Corset, which was my first attempt at a busk. I have other doll corsets that I will share with you later too. But this post is about sewing Elphaba's corset.
I described the process I used to make the pattern in this post.
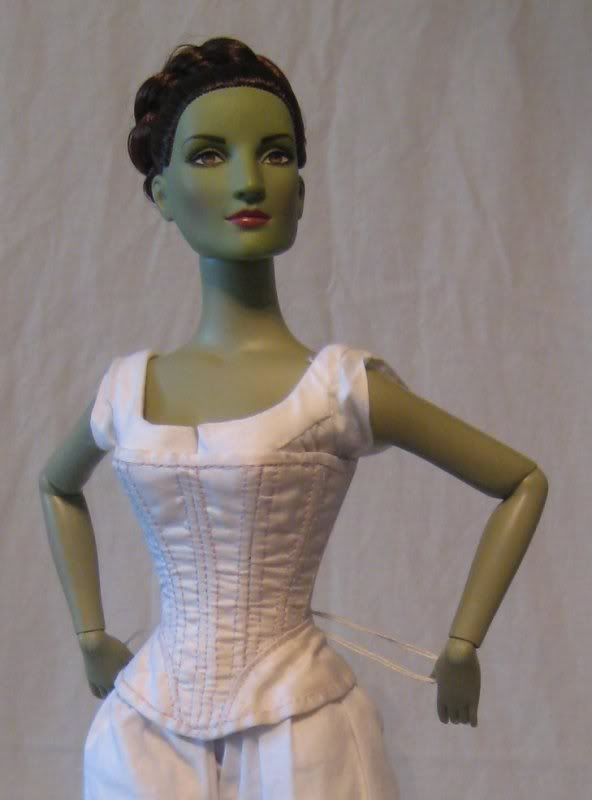

I used Lavina Foy's Patent 79647 Issued July 7th, 1868. It is a bit late. (One must remember that the patent was applied for many months, possibly even years before it was issued.) I chose this pattern because I did not want to do gussets in this size, and just straight panels are a bit boring. The actuall sewing follows my standard for doll corsets. I cut out the fitted pattern with no seam allowance, lay it on the cotton that I use as my strength layer and trace around the pattern piece.
 The CF and CB are on the fold. I then baste my fashion layer to this just on the outside of my traced line. My fashion layer was a thin white silk in this case. 
The CF is cut on the fold because I have not come up with a good way to make a busk for dolls. My last attempt in the Mini Teal Corset was for a larger corset and while it did function it was not pretty. Also most of the doll corsets I have seen with busks are larger and from a later date (1880's?)
The CB is cut on the fold because a seam at the back would add more bulk, and it gets really narrow when you need to put in eyelets.

This image shows the side pieces of cotton flat lined to silk exterior as they are being basted together before assembly.


After I have the layers all basted together, I cut them out leaving 1/4" all around them, then I sew the pieces together. For this corset, the fronts are sewn together, then the side is added, the the hip gore is sewn in and last is the back panel.

The image shows the corset with one hip gore sewn in, as seen from the inside.
The corset at the same stage as seen from the outside
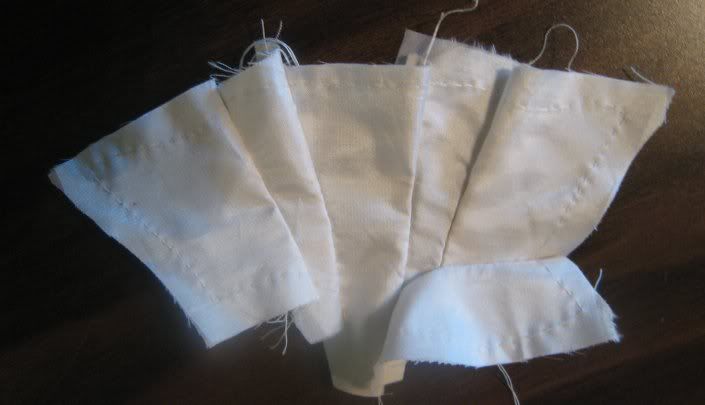

Then add the lining in the sandwich style, press seam allowances open so bulk is even on both sides, and stitch down the seam to hold all layers together.

This image shows the exterior silk corset on top and the plain cotton lining below. the lining does not have the back panel since it was cut on the fold, which is why they are not identical.
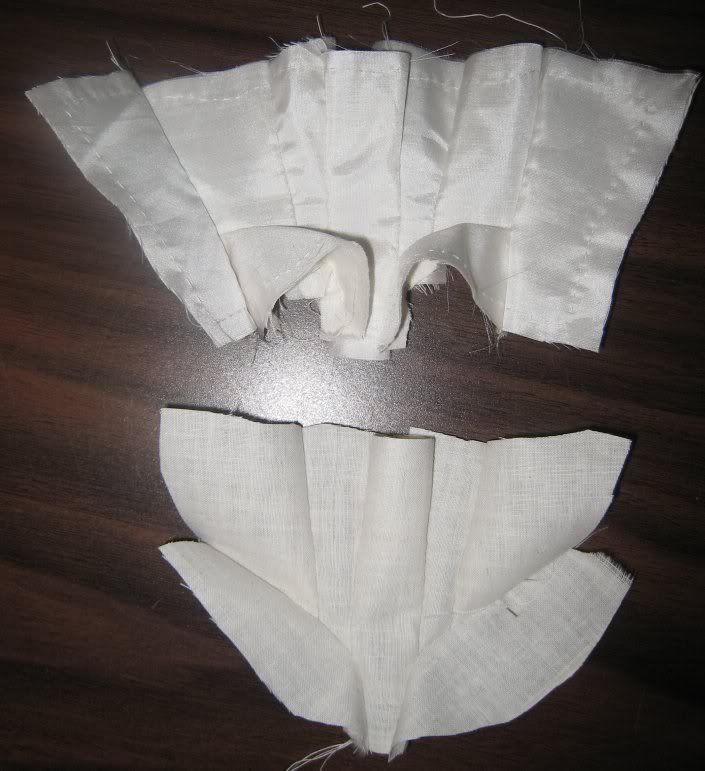
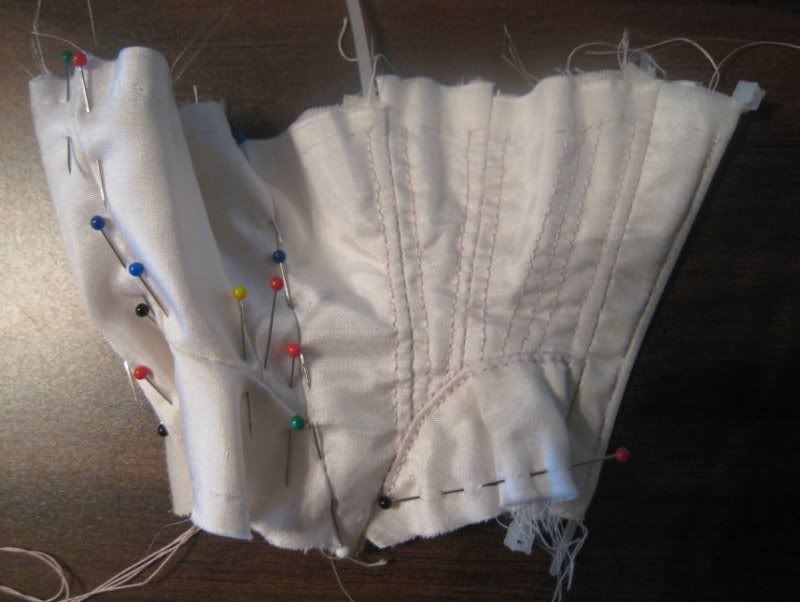
Then stitch the boning channels, for which I used pink silk thread to stitch them using a back stitch. I used 4" cable ties for this corset, 14 of them were enough to bone all 18 channels since the ones on the side do not go into the hip gore I got two bones from one cable tie in those instances.

Sewing boning channels, as seen from the inside.
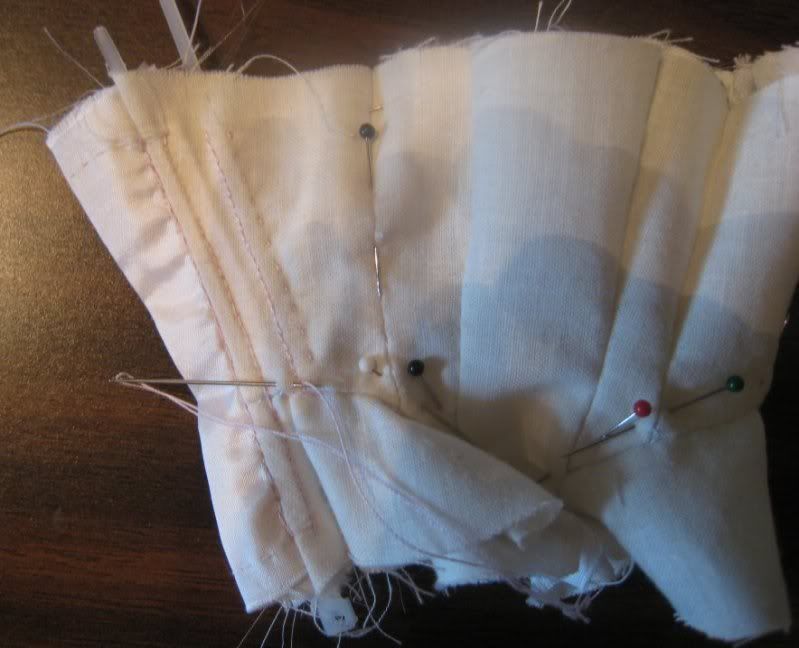


Sewing the channels as seen from the outside
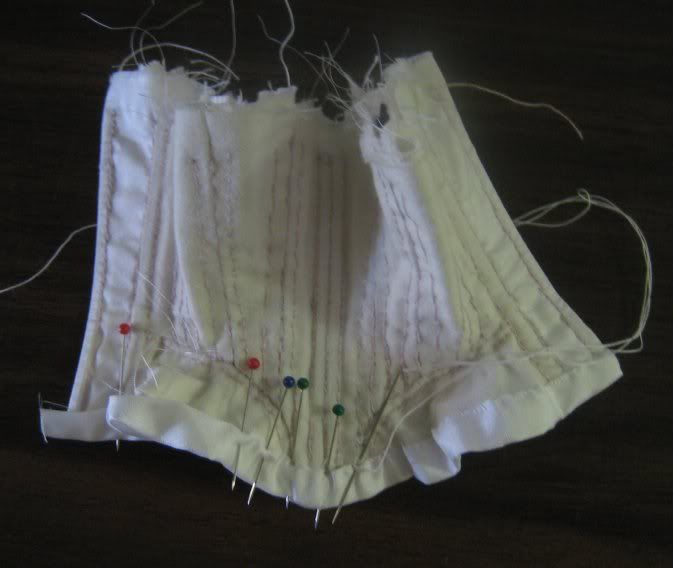
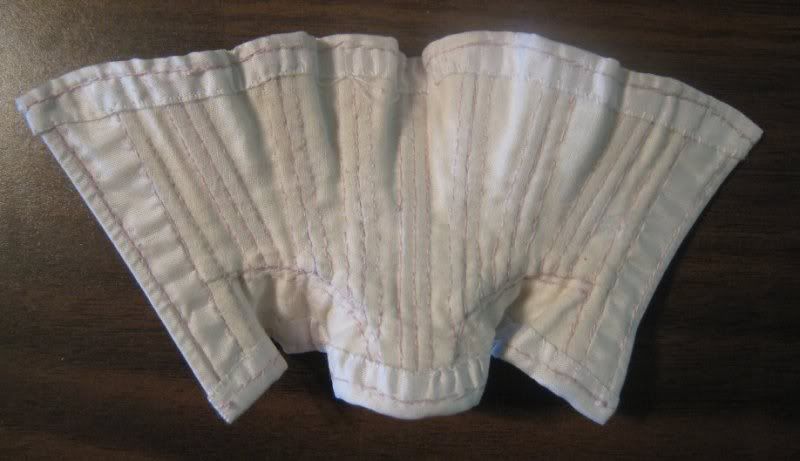
Then I bound it in a strip of the silk, I often actually use silk ribbon for this application, but couldn't find mine. This is another reason why I used a silk fashion layer, it is thin, to use cotton as the binding would have added a lot of bulk. The binding is cut from straight of grain. when finished it is 1/8" on the outside but much larger on the inside, this was for my ease of finishing and it actually makes it a bit more stable.


Sewing the binding down on the inside
The finished binding from the outside.
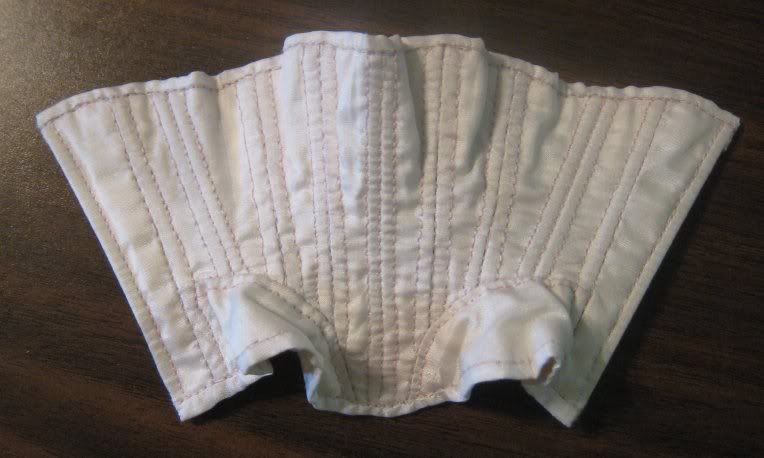
The finished binding from the inside
Then I put in mini eyelets with washers that you get at scrapbook stores.
There are several brands of Mini Eyelets to choose from. Making Memories is a commonly available one.

7 mini eyelets with washers! on each side. don't ask me where I got the washers, it was a scrapbook store in Washington state, many years ago and the label has been long lost. These washers are domed just like real grommets. I have saved them and prized them. I used mini eyelets from Joanns though as they have a longer shank than the ones from Making Memories. If you can't find min eyelets with washers, take your mini eyelets to the hardware store, I find that size 5 metric have the right internal diameter for the mini eyelets, but are larger external diameter, so they look funny on the wrong side.


The tools of the trade
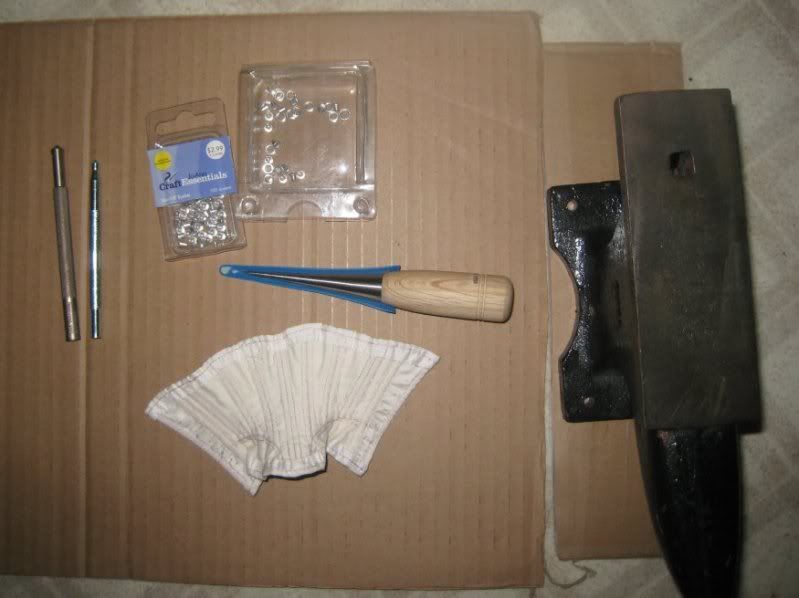
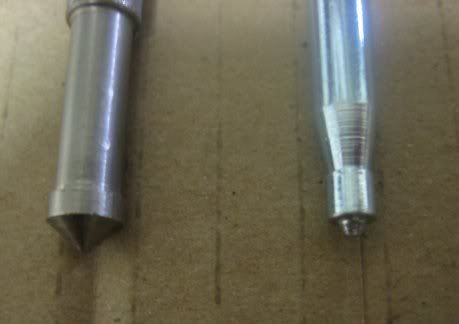
Setting tools, The one on the right was the one that I used. I think it is an older style from Making Memories?
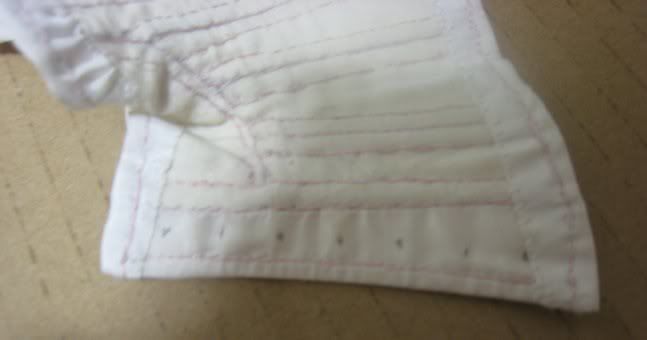
Marking the spacing for the eyelets.


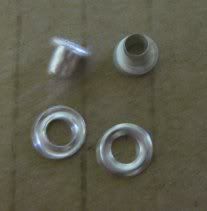
The eyelets and washers (bad photo, night time)
Making the hole with my lovely Awl. I have several awls, including an icepick but this is the one that feels best in the hand.
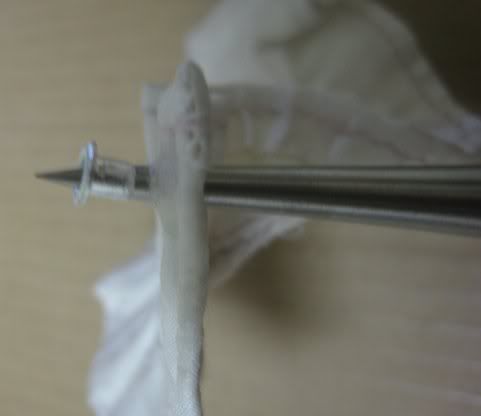
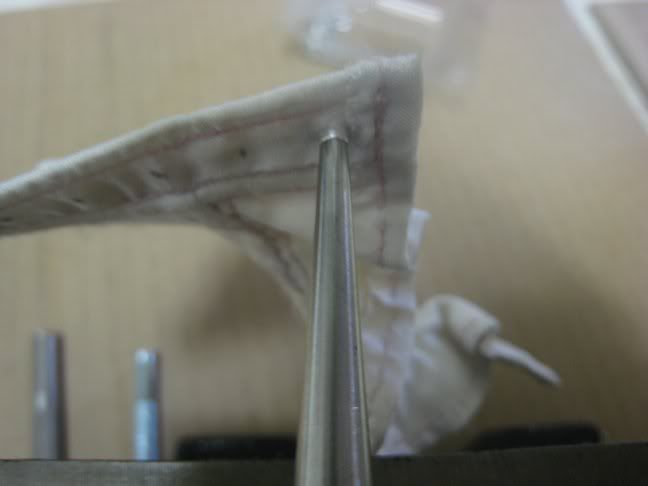


I used the string from a flour bag to lace up the corset.
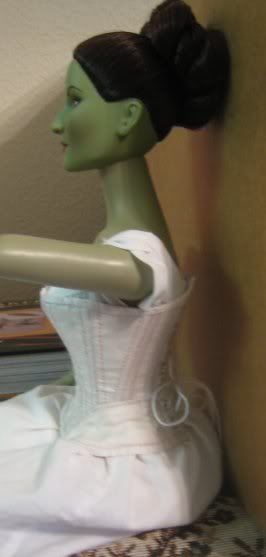


The Chemise, Drawers and Corset were finished in the first 5 days I was sewing

Friday, December 14, 2012

SPP 2009 Making the Chemise and Drawers

I used Elizabeth Stewart Clark's free instructions for drafting the Chemise and Drawers. I highly recommend them
Chemise
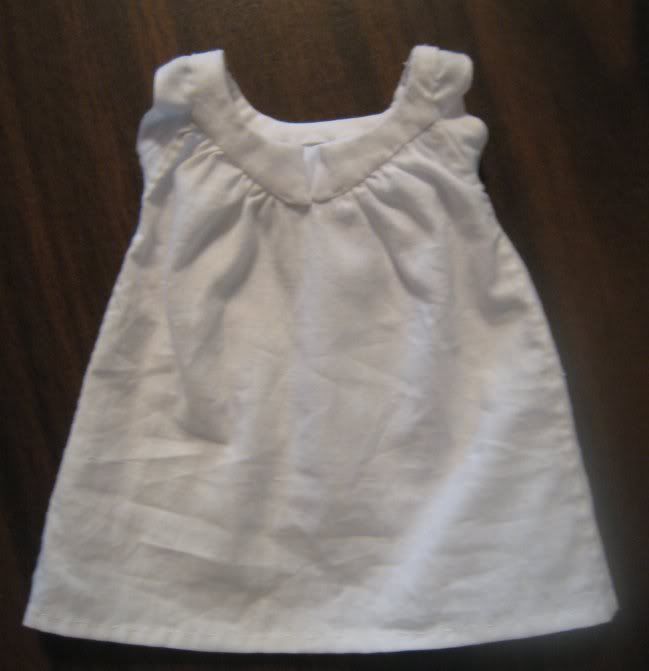
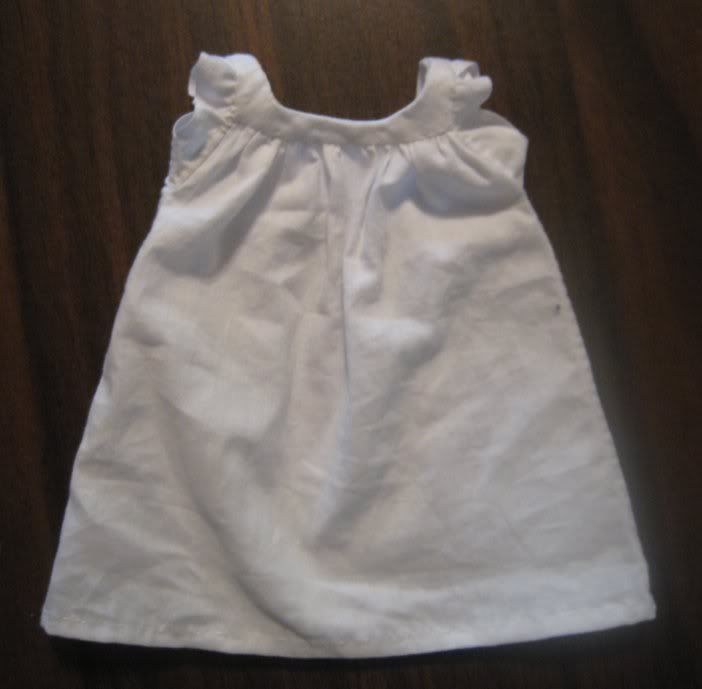
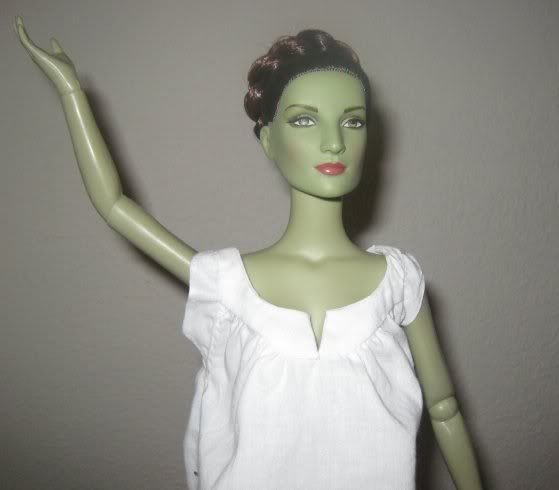
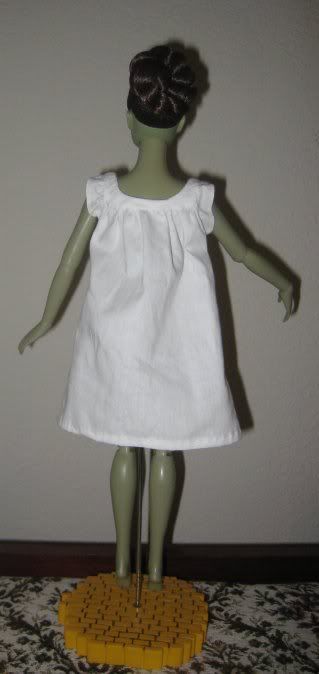
I used Mrs. Clarks' instructions to get the size. Since my doll is aprox 1/4 scale, I had some fiddling to do. I ended up cutting the body of the chemise as a trapezoid like my original 1830's chemise.
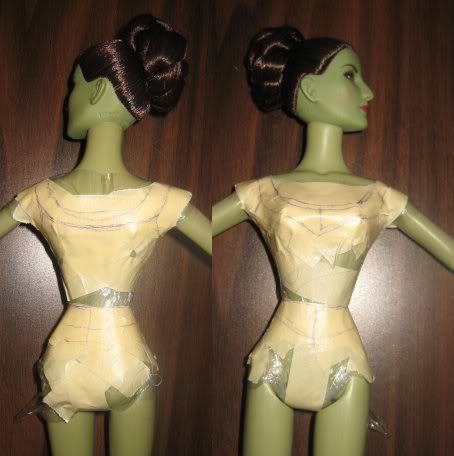
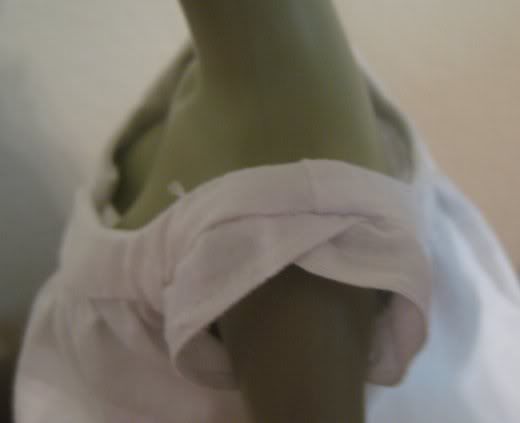
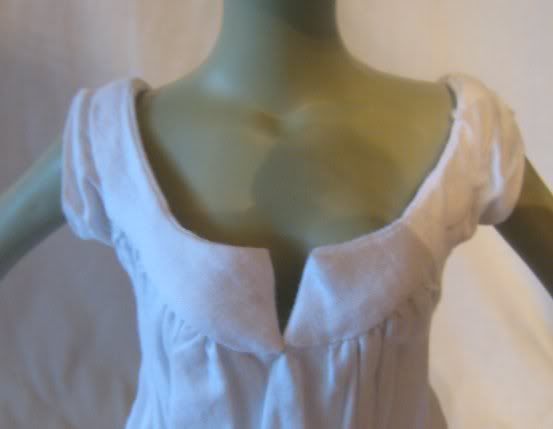
I wanted a shaped yoke that is commonly seen instead of the flat band. So I covered my doll in plastic wrap and masking tape. I then laid the scaled up pattern for the ball gown bodice on the doll and marked the neckline. I only wanted to make one chemise that would work for both bodices. The sleeves are based off of Lot 408 of the Tasha Tudor Auction.

I loved the way they over lapped and this would work great under a ball gown bodice. To reduce bulk, the sleeve hem is actual cut on the selvage, this is a trick I use often to my advantage in doll costuming.

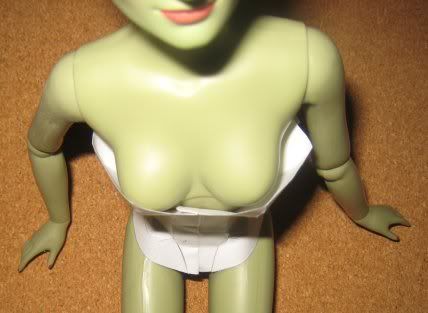
This photo shows Elphaba in tape to make the yoke patterns for the chemise and drawers

The yoke is on the bias like my original 1830's and all seams are felled by hand, though many of the seams were sewn on the machine.


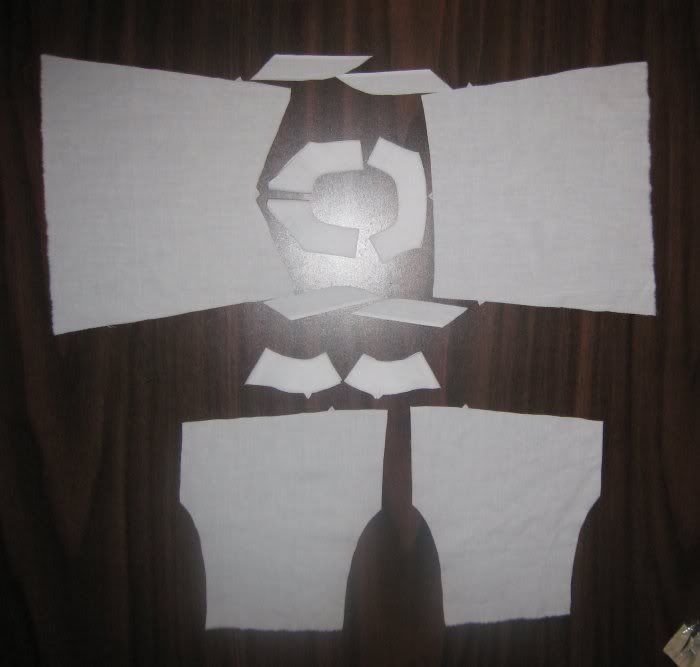
this image shows the patter pieces for the chemise and drawers.


Drawers
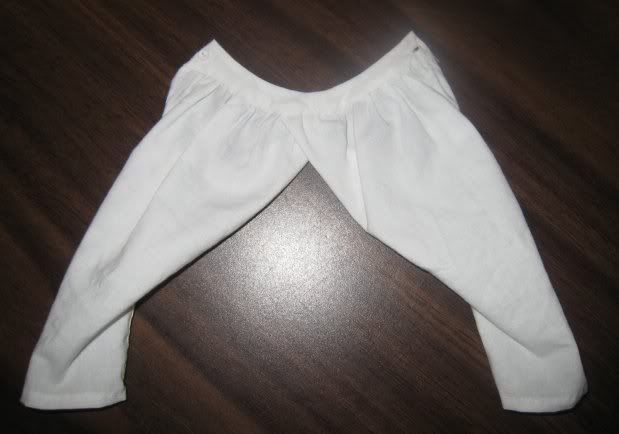
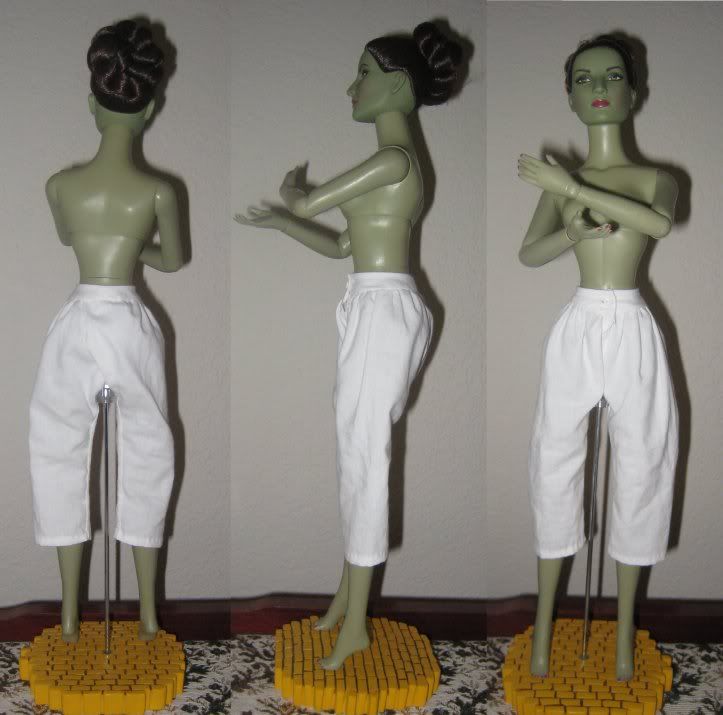
Once again I used Mrs. Clarks' instructions. Except instead of a flat band, I once again taped my doll for a pattern for a shaped yoke. The drawers fasten with a button in front, the seams are felled to the outside like on human sized.
 They eventually stretched enough to be worn over the chemise.
The Chemise, Drawers and Corset were finished in the first 5 days I was sewing

Tuesday, December 11, 2012

SPP 2009 Patterning the Corset

I love making doll corsets, properly boned doll corsets that is. I have a big pet peeve of unboned doll "corsets" fashion dolls have been around for centuries, and when they got corsets, they got miniature versions of the real deal. there are even Victorian doll corsets complete with scaled down opening busks!


Lot 722 Three Doll Corsets commercially made doll size corsets. Largest 7" H. Via Live Auctioneers, sold by Dan Morphy Auctions LLC in October 2008.

Now while I had attempted to make a doll sized corset busk before, I was not feeling up to it this time, In period the size of doll corset I would be making was most often found buskless.

I had already found my pattern,  Us Patent 79647 by Lavinia Foy in 1868, I chose it because it didn't have gussets, and was not a straight seamed corset with vertical panels only. It was interesting, I have found that when dealing with a hard bodied doll, the seam placement has a lot to do with giving the right period corset look, since you can not change the actual shape of the body.

Source: google.com via Corsetra on Pinterest


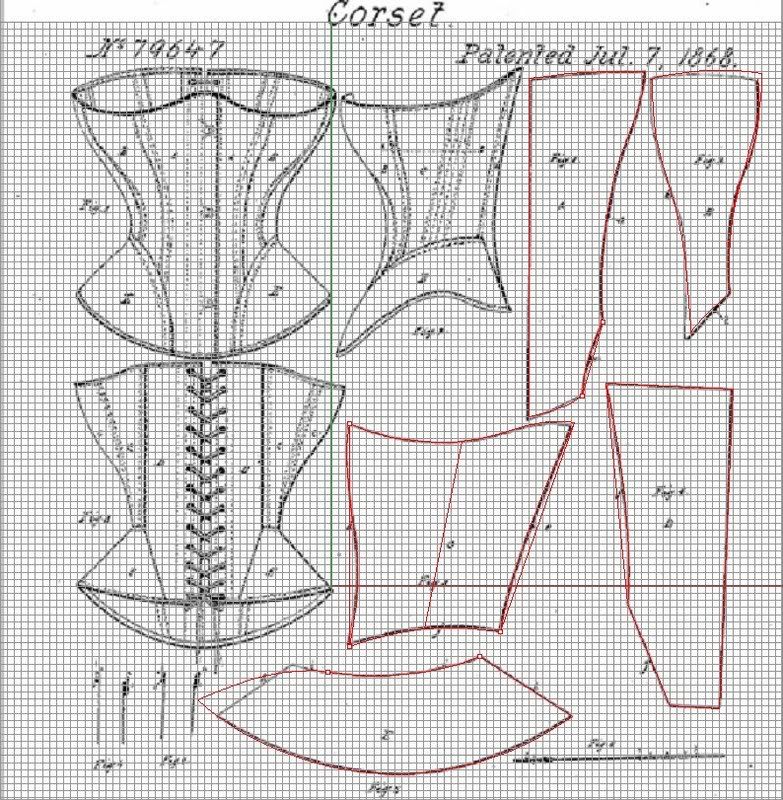
Old patents Rock for finding corset patterns, but check to see if they include seam allowance before you use them! I took a screen capture of the PDF, and put that picture as a background in CAD, traced the pattern lines and adjusted them so that they actually matched up.
 You see my red lines are a bit different, but they all match up. (yay CAD for being able to measure lines!)
Using the measurements that I took off Elphaba, I scaled the pattern so that it was the proper front length, and printed it out!

The corset was the proper length but it was too big around! 
 The first thing I did was bring in the front. you want that first seam to be either right on or just inside the apex of the bust.
Elphie's apex to apex is 1 1/8" the pattern is about 2" so I took off 1/4" from each side of the front, it is still a bit to the outside, but I couldn't take any more off or I wouldn't have enough room to put in a bone.
Next I fitted the back
I folded over 3/8" off the center back
 Because I need room for the back boning, I decided to alter the back hip piece, swinging the seam straight down from the waist. this is a really simple switch.
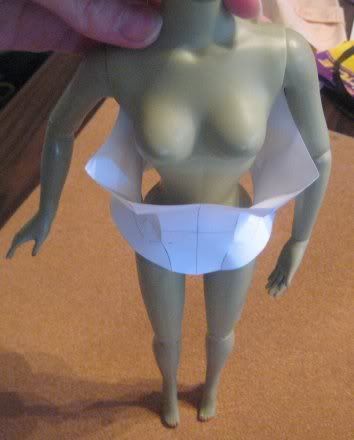
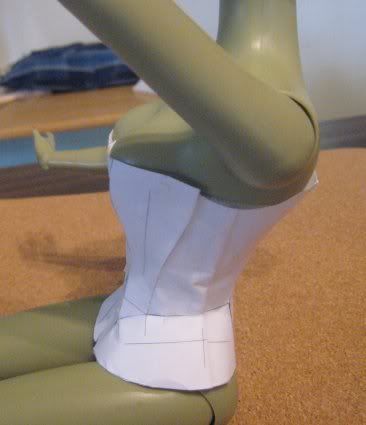
Now it was time to fit the side piece. I wrapped the corset around the waist and made a not of how much it overlapped, this would be the amount I needed to take off the sides.
I taped the back shut and to the doll at the proper waist height, and turned my attention to fitting the side pieces.
I pinched the side at the convenient grain marking I had made and took out the excess. I took it straight down through the hip piece.
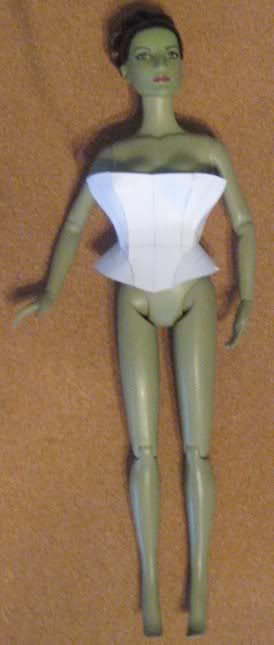
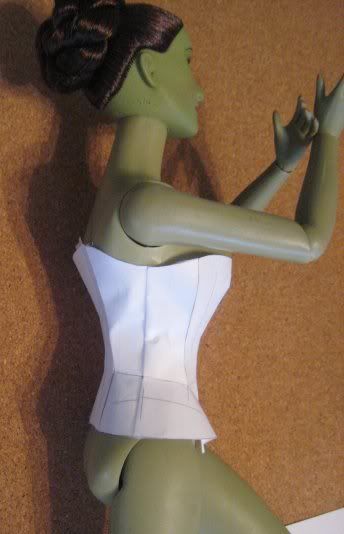
Now the waist was perfectly fitted. I decided to leave the hips a bit "free" as I found she needed this extra when I sat her down.
But the bust was still a bit too big.

This is partly due to the fact that Elphaba is made of plastic and her boobs do not have side spill. I just folded the excess to the side, and it was all good.
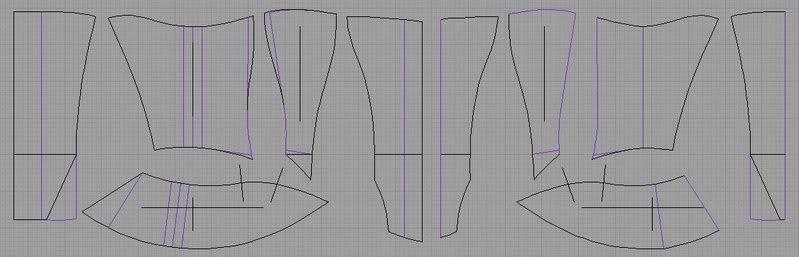
I then took my paper pattern back to the computer and made the changes to my CAD file.
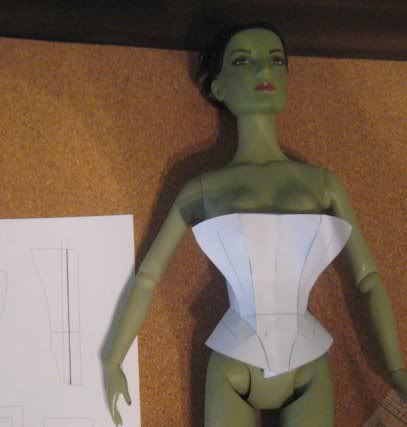
 On the left is the original pattern with the changes marked in purple, on the right is the finished pattern all ready for printing. Notice the waist balance marks?

 Boy this post was longer than I remembered! I think I will put the actual sewing into another post.
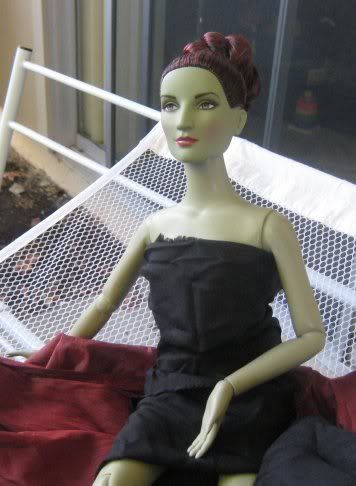
Another method for making a doll pattern is to make a duct tape double using saran wrap and masking tape, then draw the seams on the tape.

Thursday, December 6, 2012

SPP 2009 starting from the skin out

While I was still undecided on the dress fabric and trimming, I was working on the undies.

First I had to determine WHAT the under layers were going to be before I looked for patterns. Anyone who knows anything about Victorian clothing knows a corset was worn, but there are other layers as well. The corset was worn over the chemise. Drawers were often worn as well. there is some debate on where the waistband of the drawers was worn in relation to all the layers.
In the end the list of under layers was from skin out: Chemise, Drawers, Corset, Hoopskirt, Petticoat, Corset Cover. The Corset Cover was a necessity since the waist/blouse is sheer.

Fist step is measurements

It is difficult to measure a doll as their waists are too narrow to get a tape measure around so I cut a strip of 1/4" twill tape and marked the half inch on it.

FullFrontBack
Bust7 1/24 1/43 1/4
Under Bust5 3/432 3/4
Waist4 1/22 1/42 1/4
Hip5 3/42 3/43
FrontSideBack
B-UB3/41/21/2
UB-W111
B-W1 3/41 1/21 1/2
W-H111
The total side length of the corset can not be over 2 1/2, or else it interfers with the hip joint, the front can't be longer than 3, same for the back..
I jumped right into making the corset first, after all corsets are my favorite! I made the pattern to fit closed so that there would be a bit of a gap when worn over the chemise.

I choose this 1868 pattern by Lavinia Foy even though it was a bit late for the dress style.
Source: google.com via Corsetra on Pinterest

US Patent 79647

The chimes and drawers were made from Mrs. Clark of the Sewing Academy's free instructions, with some alterations for use on a doll.
Next post will cover the patterning and making of the corset.
Wednesday, November 21, 2012

SPP 2009 Triming Ideas

I wasn't thrilled with the trim on the original dress

National Museum of Denmark mus. nr. 6070/1977 to 6072/1977
Source: natmus.dk via Corsetra on Pinterest

My early ideas were to make the dress a bit more steampunk.

February 26th, 2009 post on ideas
"The dress will be in the red/brown, assuming I have enough of it. The bolero as well. I think I will skip the waistcoat  and put the corset over the skirt and under the bolero. more steampunked that way. I still need to figure out how to make a mini hoop, I would like to do an uncovered one if possible.
And will need a riding hat or some other bonnet and boots.
I would like to change the trimming on the skirt to be a bit more steam punk, but I haven't figured that out yet."

So the first obvious place to start was the hem trim
March 18th, 2009
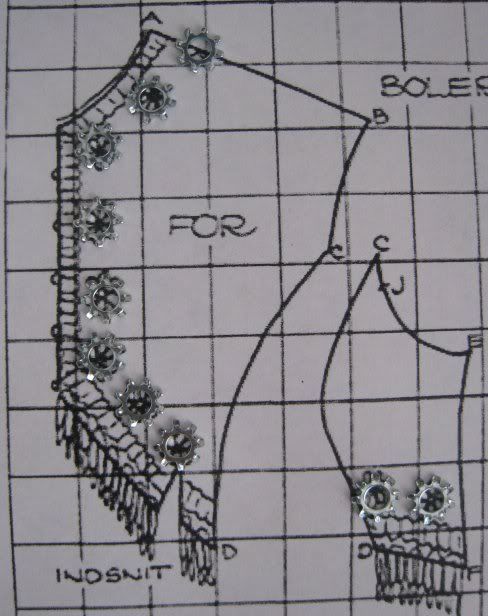
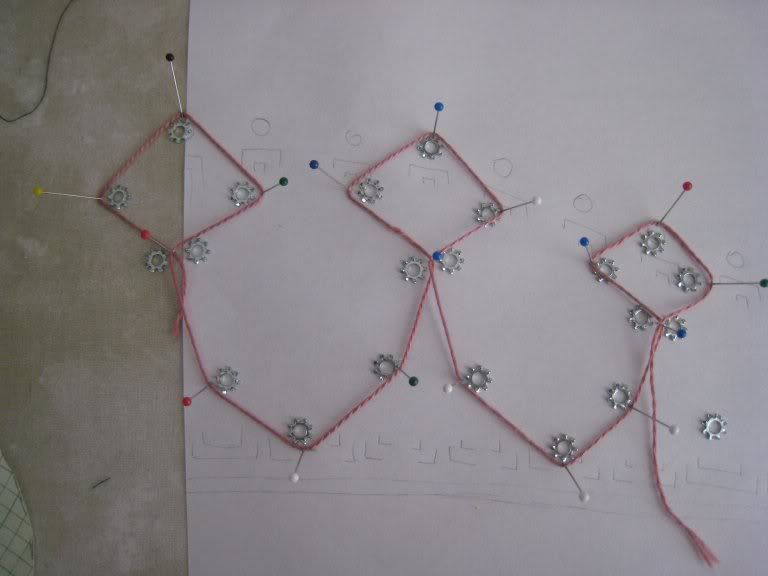
"While at the hardware store the other day I found #6 external locking (or tooth) washers that I will use for the "gear" decoration on Elphaba's dress for the Single Pattern Project over at Your Wardrobe Unlock'd.
Here we have a few drafted mock ups of trimming options for the skirt. the circles will be the gears and the lines will be couched cord. (I think the thinnest chain I could find would be too heavy.)
I think the purple and blue would end up being too heavy. the green is kind of meh. I was trying to imitate some of those fabulous soutach patterns that are so often found on mid 19th cent dresses, with gears at the corners and not crossing over any lines."


 I also played with the bolero triming
March 28th, 2009
"his is how the #6 locking washers look as bodice triming. pattern is properly scaled for Elphaba."
"A mock up of the skirt triming, before I went and played in CAD."
I wasn't thrilled with it, so I decided to toss the steampunk idea and go for something more historically accurate which means back to the research. I spent some time looking for a different triming option, and finally settled on a combination of This bodice from August 1862 Peterson and a mutilation of May 1863 dress

I think it turned out well in the end


Thursday, November 15, 2012

SPP 2009 Color choices

I knew that the dress would be made in silk, so the first thing I did was go through my small stash.

Elphaba's green skin tone would prove challenging, but that is part of why I love her so much. all these photos were taken in natural light.

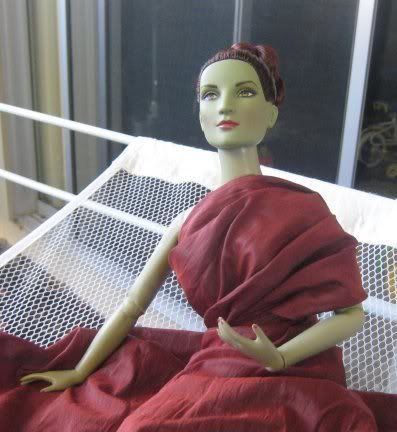
The first choice was a red/black and is actually more brown than these photos. It was just scraps left over from another project.
My issue with it was it is very close to the color of her hair.

The second choice was black, the standard Wicked Witch of the West color. and she will get a black outfit some day, I decided that I didn't want to make the dress in black. This is also scrap fabric (was going to be an elizabethan shirt, but I learned better.)


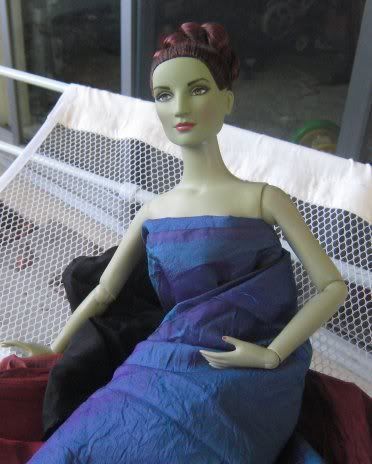
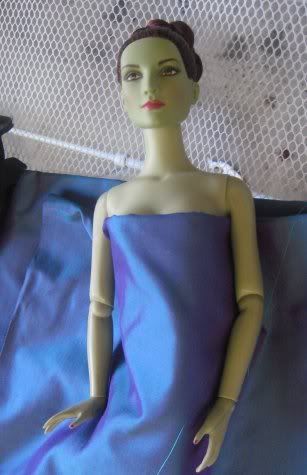
The third choice was teal/purple. I had some prewashed scraps (left) and 2 yard of it that were not washed (right)


So of the three colors I had in my stash, the red was the top contender, but my husband (who has a better sense of design and color than I) didn't care for it, so we went shopping. We found
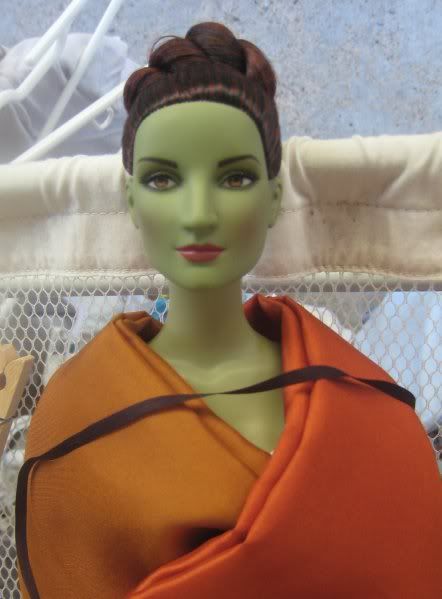
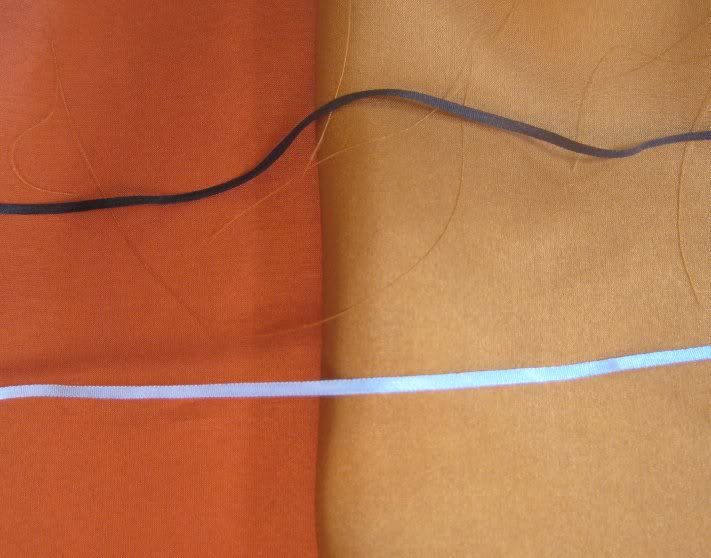
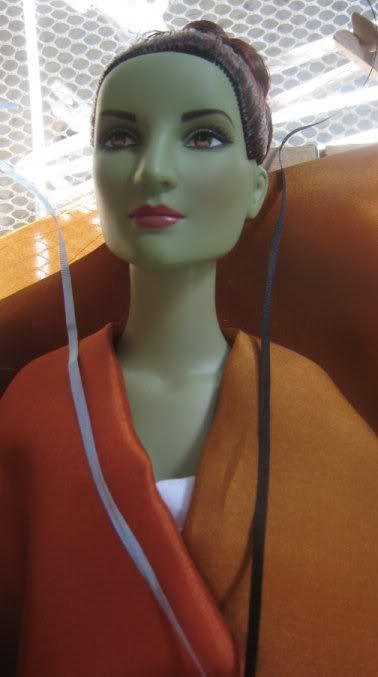
a gold haboti. I put her up against it and it looked good on her, so did the pumpkin below the gold. So I decided to get a yard of each which is enough for the dress, believe it or not. There ended up being two yards of the pumpkin so I took it all.

Now the next day I pull out my silk ribbons, the gold I had is really close to the gold haboti!

AND the gold is really close in color to the actuall SPP dress as seen in Moden!

So now to decide on what color to trim it?

Pumkin with the gold and a gold waistcoat?
Pumkin with black? (too jack-o-lantern?)
Gold with white?

I had a quick look through my books and the only really orange dress was rather plain.
I had some 4mm black silk ribbon on hand for this picture

I picked up some other colors of ribbon at Lacis

These are the 2mm ribbons and the design called for three rows of trim.

In the end I went with the gold and black.